How to Build a CNC Controller
Building your own CNC controller can be an exciting and rewarding project, whether you’re a hobbyist or an engineer. A CNC (Computer Numerical Control) controller is the heart of any CNC machine, responsible for taking commands and translating them into actions like movement, drilling, or cutting. How to build a CNC controller may seem daunting, but with the right guidance, you can create a powerful and efficient system suited for your needs. In this article, we’ll walk you through everything you need to know to build your own CNC controller from scratch.
Understanding CNC Controllers
1. What is a CNC Controller?
A CNC controller serves as the “brains” of a CNC machine. It takes commands from software, interprets them, and drives the motors to control the machine’s axes for specific tasks like cutting, engraving, or drilling. The CNC controller essentially bridges the gap between the digital instructions and the physical movements of the machine.
The primary components of a CNC controller include:
- Power Supply: Provides power to the motors and controller board.
- Motor Drivers: Interfaces between the controller and the stepper or servo motors.
- Stepper or Servo Motors: Responsible for moving the machine’s axes.
- Controller Board: Processes instructions from software and communicates with other components.
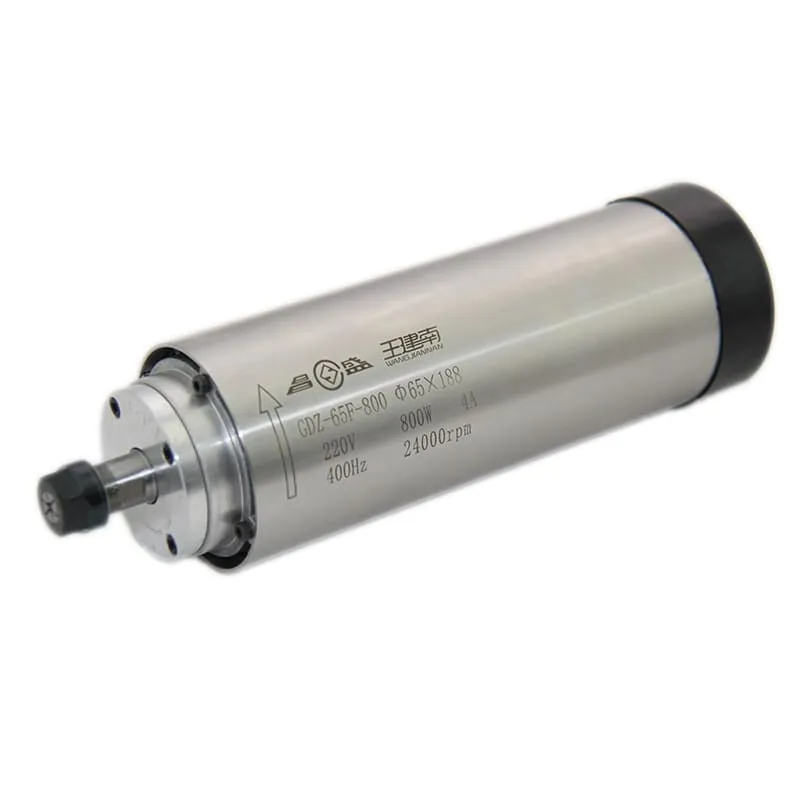
To get started, you may want to consider using an 800W ER11 Air-Cooled Spindle for small-scale DIY CNC projects.
2. Essential Components for Building a CNC Controller
To successfully build a CNC controller, it’s crucial to understand the different components required. Here’s a breakdown of the key elements:
- Stepper Motors or Servo Motors: These are the actuators that move machine parts. Stepper motors are popular for DIY CNCs due to their simplicity and sufficient torque for most small projects.
- Power Supply: A 24V or 40V power supply is typical, depending on your motor requirements. Make sure to confirm compatibility before plugging everything in.
- CNC Controller Board: This board handles all commands and converts them into motor actions. Common choices include GRBL shields, which are easy to use and well-documented.
- Motor Drivers: These interface between the controller and motors, managing the current and ensuring the motors receive the correct signals without overloading.
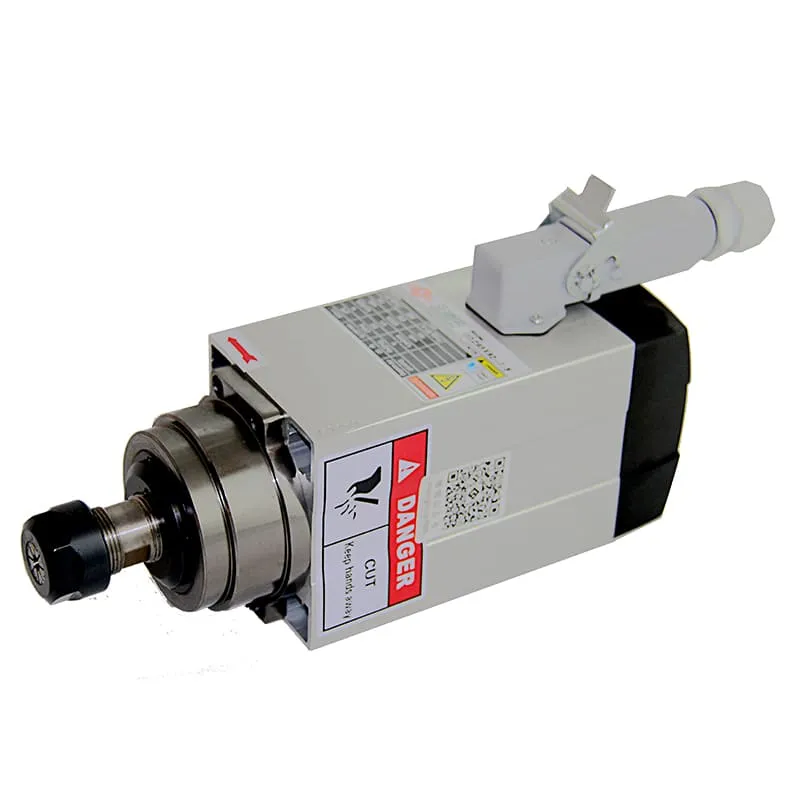
Check out our 1.5KW ER11 Square Air-Cooled Spindle with Flange for medium-scale CNC controller setups.
3. Choosing the Right Power Supply
The power supply is one of the most important components when building a CNC controller. It powers not only the motors but also the controller board and other electronic components. Here are the key considerations when choosing a power supply:
- Voltage and Current Requirements: Choose a power supply that matches the voltage and current needs of your motors and drivers. For example, stepper motors typically require a 24V power supply, while servo motors may need higher voltage.
- Power Distribution: Use a distribution block to keep wiring organized and ensure that every component gets the necessary power.
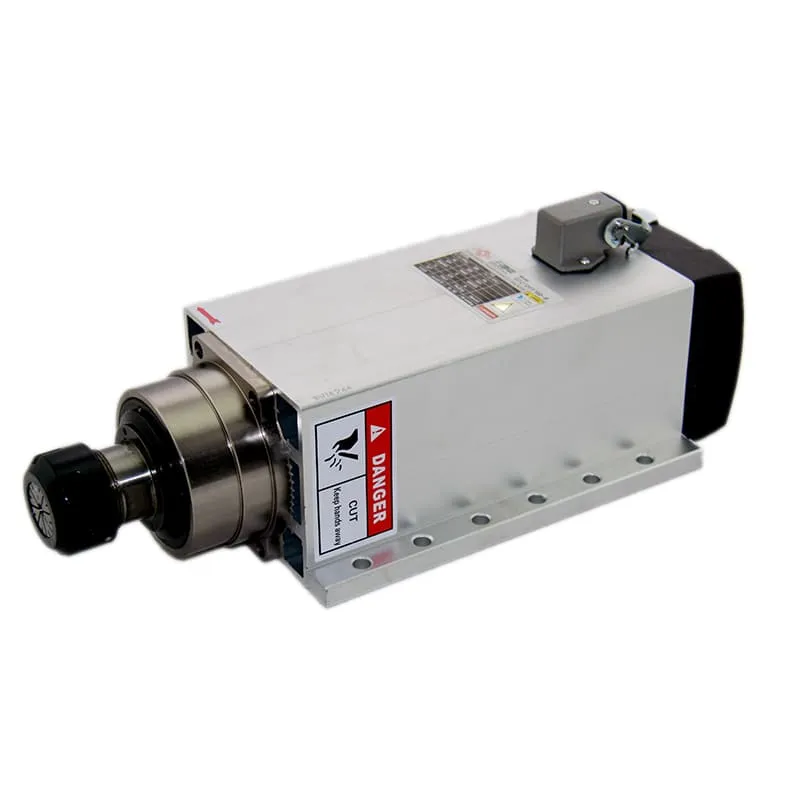
To enhance the performance of your controller, consider using our 6KW ER32 Air-Cooled Spindle.
4. Wiring Stepper Motors and Controllers
Wiring your CNC controller involves connecting the power supply, drivers, motors, and controller board. Here’s a step-by-step guide:
- Wire the Power Supply: Begin by connecting your power supply to the controller board and the motor drivers. Ensure each component gets the correct voltage.
- Connect the Motors: Attach each stepper or servo motor to its respective motor driver. Follow the wiring diagram specified by the motor and driver datasheets.
- Signal Wires: Connect signal wires between the controller board and the motor drivers. These wires determine motor movement by sending control signals.
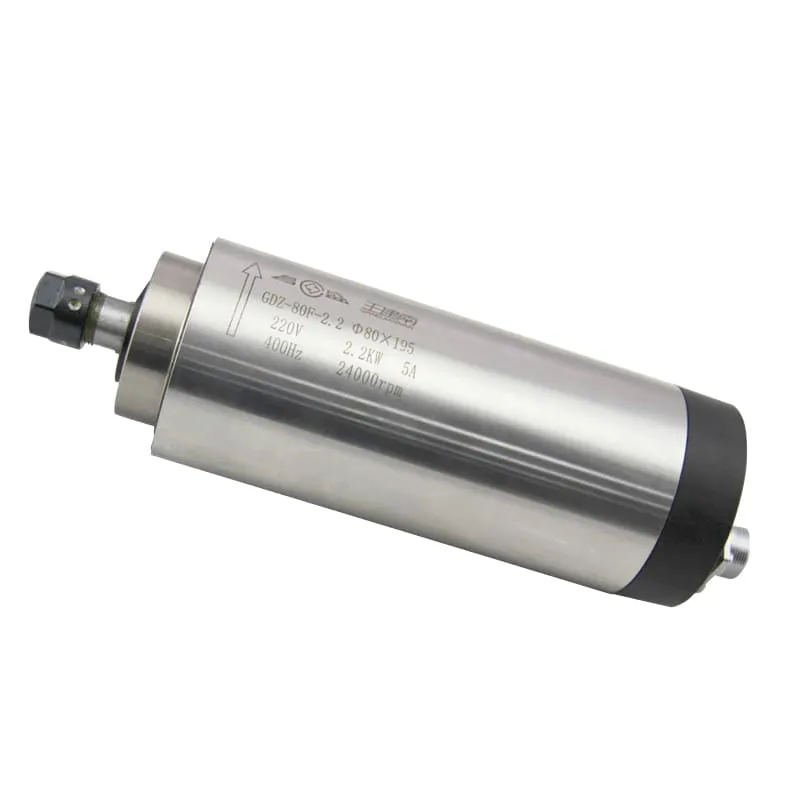
Using a 4.5KW ER32 Air-Cooled Spindle can add significant efficiency for heavier CNC projects.
5. Choosing the Right CNC Controller Board
The controller board is where all the magic happens. It converts the commands from the CNC software into actionable steps for the motor drivers. Common options include:
- GRBL Controllers: Ideal for beginners and hobbyists due to affordability and ease of setup.
- Mach3 Controllers: Offer more advanced features but require a PC and a compatible CNC board.
- Standalone Controllers: Professional-grade controllers that offer features like offline control and enhanced stability.
6. Configuring the Software for Your CNC Controller
Once the hardware setup is complete, configuring the software is the next step. Popular options include:
- Universal G-Code Sender: This software is widely used for GRBL-based CNC controllers and is both free and easy to use.
- Mach3: Advanced features and customization options make Mach3 ideal for users wanting more control.
- LinuxCNC: An open-source option that works well for advanced users looking for flexibility.
7. Testing and Troubleshooting
Before starting with your CNC machine, it’s important to conduct comprehensive testing:
- Power Check: Turn on each component to ensure the power supply is stable.
- Motor Movement: Run simple commands to check motor response. If the motors fail to move, recheck the wiring and motor driver settings.
- Calibration: Calibrate each axis to ensure accuracy in positioning and movement.
8. Offline CNC Controllers
Offline CNC controllers are ideal for those who want to avoid depending on a PC for operation. These controllers come with a display and allow you to load G-code files directly from USB or SD cards, simplifying workflow.
Consider our 1.5KW ER20 Square Air-Cooled Spindle for seamless offline control.

9. Ensuring Proper Safety Protocols
When working with CNC controllers, safety should be the top priority. Follow these essential guidelines:
- Disconnect Power: Always disconnect power before making any wiring adjustments.
- Check Connections: Regularly check that all connections are secure, especially those involving high voltage.
- Emergency Stop Button: Install an emergency stop button to immediately halt all operations in the event of a malfunction.
10. Building a DIY CNC Controller: Is it Worth It?
Building a CNC controller is a rewarding project, particularly if you enjoy DIY projects. It offers complete customization, letting you add features like offline control or specialized stepper drivers. However, it can be challenging, particularly for beginners. If you’re ready to invest time in learning and troubleshooting, building your own CNC controller is a great way to expand your skills and achieve a customized setup.
FAQs About Building a CNC Controller
1. What power supply should I use for my CNC controller?
A 24V or 40V power supply is typical, depending on the motors used. Ensure the power supply matches the motor driver requirements.
2. Do I need stepper or servo motors?
Stepper motors are suitable for most DIY projects because of their simplicity, whereas servo motors offer greater precision for advanced applications.
3. Can I build a CNC controller without prior experience?
Yes, many beginner-friendly resources are available, and starting with a simple GRBL setup can help you gain hands-on experience.
4. How do I troubleshoot motor movement issues?
If your motors aren’t moving, double-check your wiring and verify that the motor drivers are set up correctly. Sometimes, updating the firmware or adjusting motor driver settings can solve the issue.
Conclusion: Crafting Your Own CNC Controller
How to build a CNC controller can be a challenging yet incredibly rewarding process. By constructing your own controller, you gain complete control over the machine’s specifications, including motor choice, power supply, and customization options. Whether you choose an offline controller or a GRBL-based setup, understanding each component will empower you to create a CNC controller that meets your unique needs. With patience and dedication, you’ll be able to craft a powerful and efficient CNC controller to bring your projects to life.

