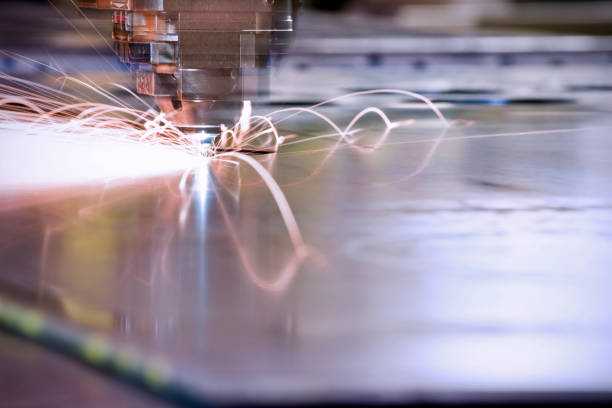
Creating your own CNC laser cutter can be a rewarding and challenging project. It involves integrating precision mechanics, laser technology, and computer control to produce a machine capable of engraving and cutting a variety of materials. If you have ever wondered “How to build a CNC laser cutter?”, this guide will take you through the fundamental steps needed to bring your CNC laser cutter to life. From selecting the right components to understanding the software, this comprehensive guide provides everything you need to know.
Understanding CNC Laser Cutters
What is a CNC Laser Cutter?
A CNC laser cutter is a type of machine that uses a high-powered laser beam to cut and engrave materials such as wood, acrylic, plastic, and metal. Controlled by G-code—a language generated by CAD (Computer-Aided Design) and CAM (Computer-Aided Manufacturing) software—a CNC laser cutter can achieve high precision with ease. The key components of a CNC laser cutter include motors, laser power supply, and control software, which all contribute to making intricate cuts and designs.
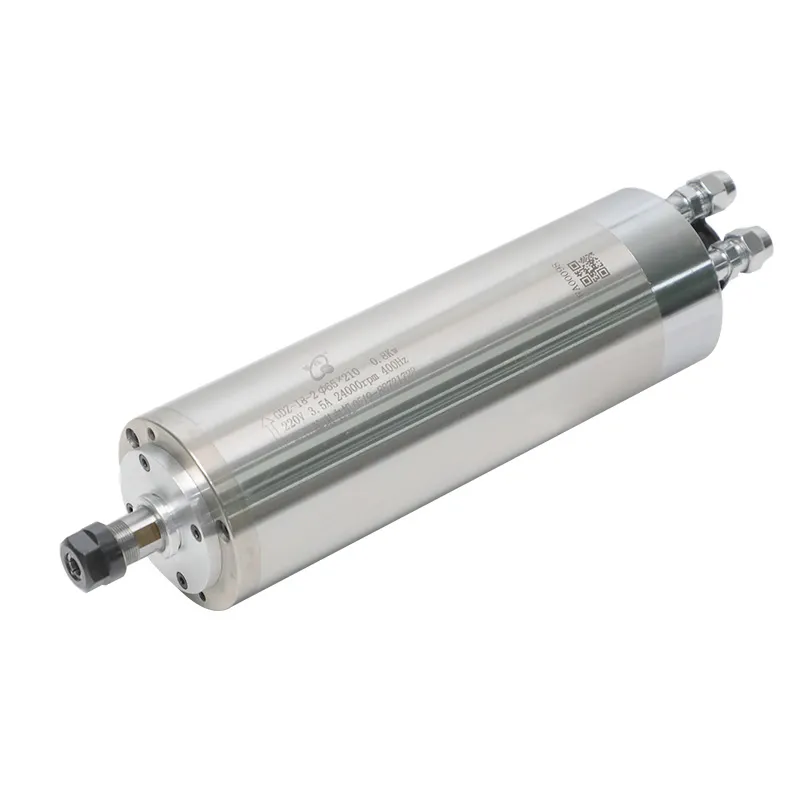
Internal Link: For optimal results, consider integrating our 24000RPM 0.8KW ER11 Water-Cooled Spindle in your CNC laser cutter setup to enhance precision.
Components Needed for a CNC Laser Cutter
1. Laser Module
The laser module is the core of a CNC laser cutter. It emits a powerful laser beam capable of engraving or cutting materials. Lasers come in different power levels, measured in watts—ranging from 500mW to 100W or more, depending on the materials you plan to cut.
- Low Power Lasers: Suitable for engraving and light cutting tasks, such as working with acrylic or thin wood.
- High Power Lasers: These lasers are required for cutting thicker materials, such as aluminum or stainless steel.
Pro Tip: A 40W CO2 laser is a good starting point for hobbyists.
2. Stepper Motors
Stepper motors control the movement of the laser along the X and Y axes. Precision is key when building a CNC laser cutter, so choosing stepper motors with adequate torque is essential for achieving smooth and accurate motion.
- X-Axis and Y-Axis Movement: The laser head moves along these axes to engrave or cut in specific patterns. Ensure the stepper motors have enough holding torque for smooth and consistent movement.
- Z-Axis (Optional): Adding a Z-axis allows for focus adjustments, which is particularly useful when working with materials of varying thickness.
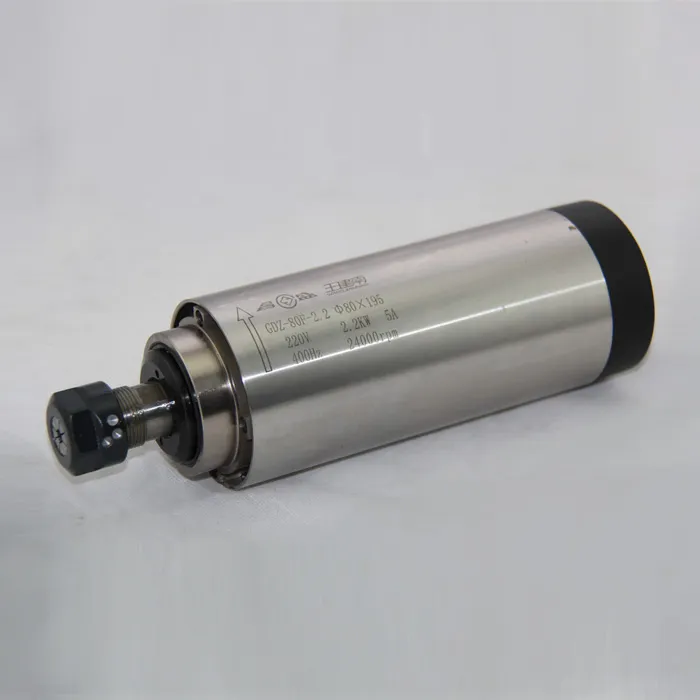
Internal Link: Consider upgrading your CNC setup with our 2.2KW ER20 Air-Cooled Spindle, ideal for diverse CNC projects.
3. Frame and Rails
The frame provides the structure for the CNC laser cutter, ensuring stability and rigidity. The rails guide the laser head across the material.
- Material: Frames can be built from aluminum extrusion, which is easy to work with and provides strength without being overly heavy.
- Linear Rails: Choose linear guide rails for smooth and precise laser head movements.
Tip: Aluminum extrusion is lightweight and strong, making it ideal for DIY projects where mobility is a concern.
4. Control Board and Driver
A control board is the brain of the CNC laser cutter. It receives commands from the computer and controls the stepper motors and laser module accordingly. Some common control boards include:
- Arduino with CNC Shield: Affordable and easy to program, suitable for beginners.
- GRBL Controller: Widely used in CNC projects for its reliability and open-source software support.
The drivers control the current supplied to the stepper motors. Proper driver setup ensures that motors run efficiently without overheating.
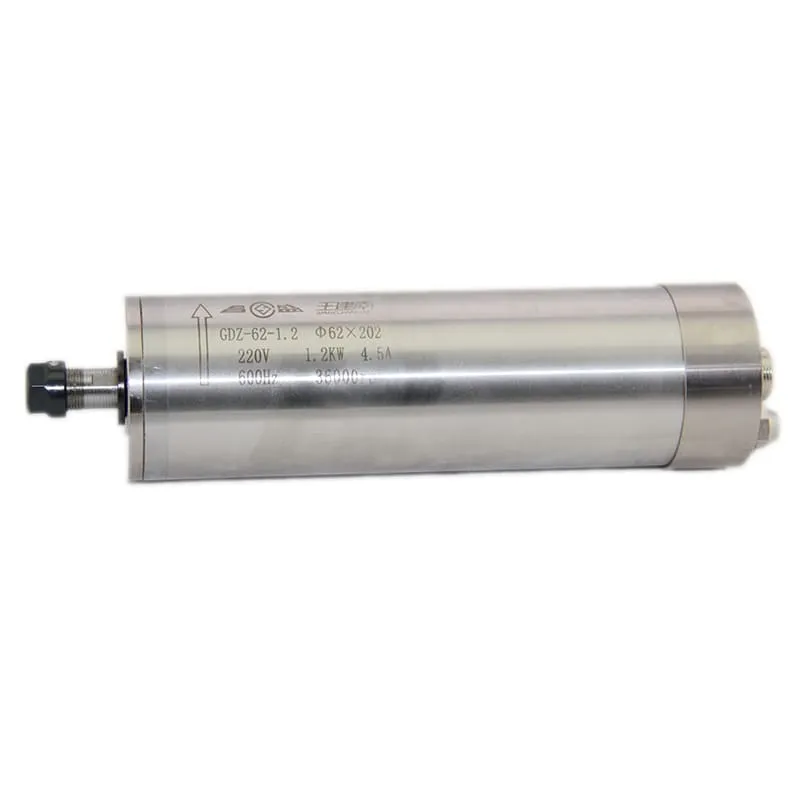
Internal Link: Learn how our 60000RPM 1.2KW ER11 Water-Cooled Spindle can further enhance your CNC machine’s performance.
5. Laser Power Supply
The laser power supply is another crucial element of the CNC laser cutter. It must match the specifications of the laser module you choose.
- CO2 Laser Tube Power Supply: For a CO2 laser, ensure the power supply is capable of handling the voltage required, typically between 20-40kV.
- Safety Measures: Ensure the power supply includes proper grounding and emergency stop switches for user safety.
Step-by-Step Guide to Building a CNC Laser Cutter
Step 1: Design Your Frame
The first step in building your CNC laser cutter is to design the frame. You can use CAD software like SolidWorks or Fusion 360 to sketch the structure and determine the placement of components such as the laser head, rails, and control board.
- Measure Twice, Cut Once: Ensure the dimensions of your frame are adequate to house all components.
- Assemble with Precision: Use corner brackets and M3 bolts to fasten the aluminum extrusion securely.
Step 2: Install Linear Rails and Stepper Motors
- Attach Rails: Mount the linear guide rails onto the frame to guide the movement of the laser head. Secure them tightly to ensure no play in the system.
- Install Stepper Motors: Attach stepper motors to the ends of the frame, ensuring proper alignment to avoid any binding during motion.
Step 3: Connect the Laser Module
The laser module should be mounted securely on the laser head carriage. Make sure it is firmly held but adjustable, so you can change its position as needed.
- Focus Mechanism: Attach a focus mechanism that allows you to adjust the distance between the laser and the material, which is crucial for achieving optimal cut quality.
- Air Assist: Adding an air assist feature helps blow away debris, resulting in cleaner cuts.
Step 4: Set Up the Control Board
- Wiring: Connect the stepper motors and laser module to the control board. Proper wiring ensures signals from the computer are transmitted correctly to each component.
- Load GRBL Firmware: Use software such as Arduino IDE to upload the GRBL firmware onto your control board, allowing it to understand the G-code commands.
Step 5: Install the Laser Power Supply
Install the laser power supply close to the laser module, keeping it at a safe distance from heat sources. Ensure all wiring connections are properly insulated.
- Water Cooling System: For CO2 lasers, a water cooling system is often used to maintain a constant temperature. It prevents overheating and prolongs the life of the laser tube.
- Emergency Stop Button: An emergency stop switch is vital for safety, allowing you to power down the entire system immediately.
Software for CNC Laser Cutters
1. CAD/CAM Software
To create designs for your laser cutter, you’ll need CAD software such as AutoCAD or Inkscape. These programs allow you to create detailed 2D and 3D models that can be used to generate G-code.
- 2D Designs: Inkscape is an excellent open-source software for designing 2D vector images.
- 3D Modeling: For more intricate projects, Fusion 360 can help you create 3D models and convert them into toolpaths.
2. Control Software
To control the laser cutter, you will need software that can send the G-code to the machine. GRBL Controller and LightBurn are two commonly used options.
- LightBurn: Specifically designed for laser cutters, LightBurn allows for easy layout, editing, and control of laser parameters.
- GRBL Controller: Used widely for CNC projects, GRBL is an open-source software that converts G-code into actions taken by the laser cutter.
Tips for Optimal Performance
1. Adjusting the Laser Focus
Proper focus adjustment is crucial to achieving precise cuts. A well-focused laser results in a smaller spot size, allowing for clean and detailed cutting and engraving. Make use of a focus gauge to get consistent results.
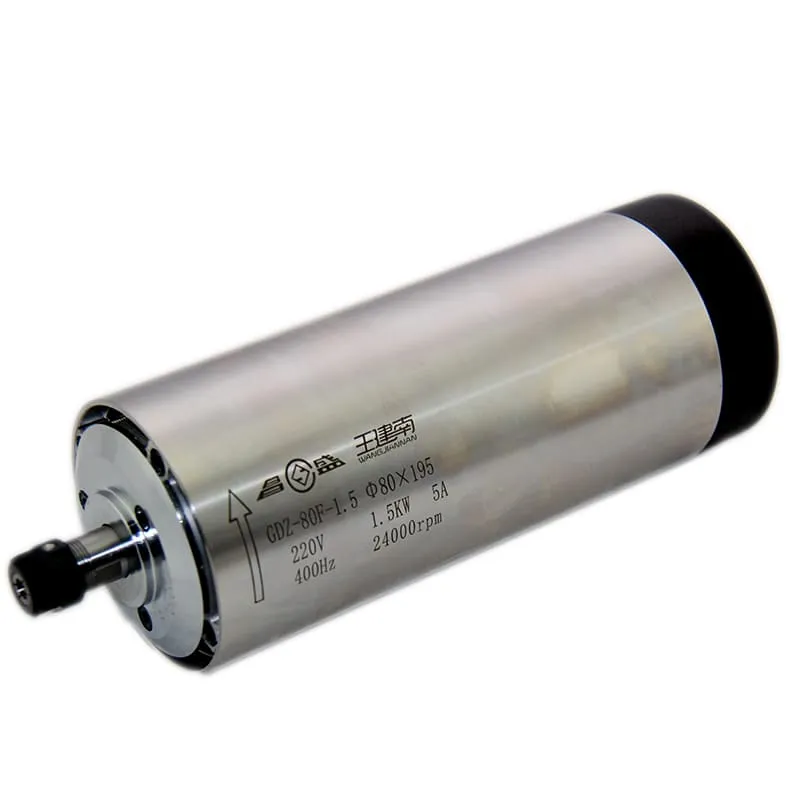
Internal Link: Enhance your CNC’s precision by using our 1.5KW ER11 Round Air-Cooled Spindle for stability.
2. Laser Cutting Speed and Power
The speed and power of the laser cutter will depend on the type of material being cut.
- Wood: Use moderate speed with lower power settings for detailed engraving, or higher power for deeper cuts.
- Acrylic: Acrylic requires high power to melt through cleanly without burning.
- Metal: Thin metals require high power, with lower speed settings to avoid overheating.
Tip: Always start with lower power settings and perform a test cut to prevent damaging the material.
3. Maintaining Clean Optics
Keeping the optics clean is essential to maintaining the quality of cuts and engravings. Any dust or residue on the lenses or mirrors can reduce the power and focus of the laser.
- Regular Inspection: Inspect the laser lens and mirrors after each use.
- Cleaning Procedure: Use isopropyl alcohol and a soft cloth to clean the optics. Avoid touching the lens with bare hands.
Frequently Asked Questions (FAQs)
1. What type of laser is best for a DIY CNC laser cutter?
A 40W CO2 laser is a good starting point for beginners, as it can cut through wood, acrylic, and other non-metals, while also being affordable.
2. How much does it cost to build a CNC laser cutter?
The cost of building a CNC laser cutter can vary from $500 to $3,000, depending on the laser power, frame materials, and components you choose.
3. What materials can be cut with a DIY CNC laser cutter?
A DIY CNC laser cutter can cut wood, acrylic, plastic, and some thin metals with the appropriate laser power.
4. Do I need special safety gear to operate a CNC laser cutter?
Yes, it is highly recommended to use laser safety goggles, as well as ensure proper ventilation to deal with fumes generated during cutting.
5. Can I upgrade my CNC laser cutter later on?
Absolutely. You can upgrade various components, such as installing a more powerful laser module or adding advanced control software for better performance.
Conclusion
Building a CNC laser cutter is an ambitious project that combines mechanical, electronic, and software skills. From selecting the right laser module and stepper motors to setting up your control system and understanding the software, each step is critical in creating a reliable machine capable of making precise cuts and engravings. For hobbyists and professionals alike, this endeavor is not only educational but also highly rewarding.
For more tools and accessories to enhance your CNC projects, visit spindlemotorshop.com. We offer a wide range of products designed to meet the needs of DIY enthusiasts and professionals alike, ensuring that you have the best equipment for any project.

