How to Build a CNC Machine from Scratch
Building a CNC (Computer Numerical Control) machine from scratch is an incredibly rewarding project for any enthusiast interested in machining, woodworking, or even metalworking. With a CNC machine, you can create precise, repeatable parts and take your DIY projects to the next level. Whether you are a hobbyist or a professional, constructing your own CNC machine opens up opportunities for precision machining, customization, and substantial savings. This guide will walk you through the entire process, detailing the components required, the steps to take, and offering some handy tips for smooth execution.
Understanding the Basics of a CNC Machine
A CNC machine is an automated cutting tool that can carve or mill different types of materials—such as wood, plastic, and metal—based on computer-generated designs. The core of a CNC system consists of a spindle motor, controller, linear rails, and stepper motors to handle movements on multiple axes. Essentially, a CNC machine automates processes traditionally done manually, providing precise control over every motion.
Core Components of a CNC Machine
Before starting the construction, it’s crucial to understand the core components of the CNC machine. These include:
- Spindle Motor: The spindle motor does the actual cutting. A 2.2KW ER16 Air-Cooled Spindle is a popular option for mid-range machines due to its versatility.
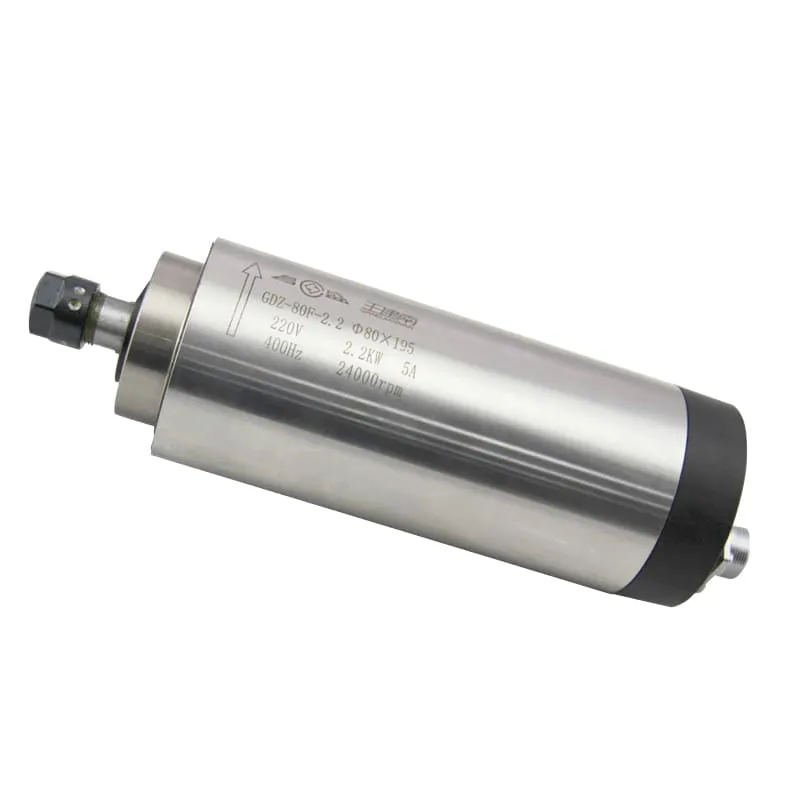
- Stepper Motors: These motors control the precise movement of the spindle across multiple axes. Stepper motors are available in varying torque ratings to meet different machine requirements.
- Linear Rails and Bearings: These guide the movement of the axes, ensuring that every part stays perfectly aligned. Linear rails are essential for providing stability and reducing vibration.
- Controller and Power Supply: The CNC controller translates computer-generated G-code into electrical signals to control the stepper motors. Additionally, the power supply is responsible for powering all the electronics.
- Frame and Bed: The frame holds everything together. Using sturdy materials like steel or aluminum ensures that the machine maintains rigidity and precision during cutting.
What You Will Need to Start Building
To build a CNC machine from scratch, you will need a few essential tools and materials:
- Aluminum Extrusions: Perfect for creating a rigid frame for your CNC machine. Using 15mm thick aluminum extrusions adds strength while keeping the weight manageable.
- Spindle Motor: The motor you choose depends on your needs. Consider an 800W ER11 Air-Cooled Spindle for small-scale projects.
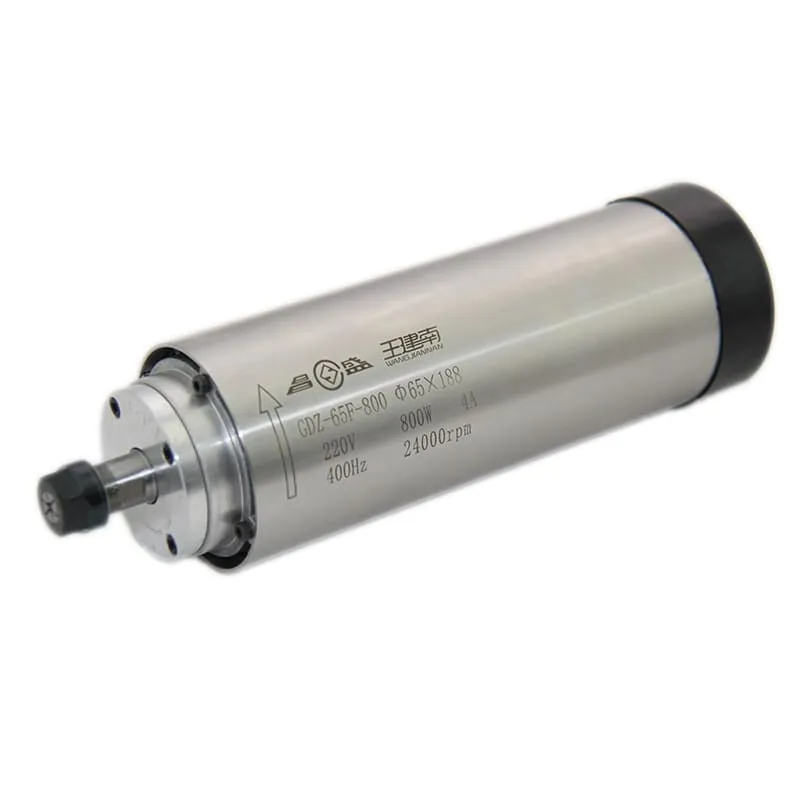
- Stepper Motors: At least three stepper motors (one for each axis—X, Y, and Z).
- Ball Screws and Linear Bearings: To facilitate the movement of the axes smoothly and efficiently.
- G-code Generating Software: CAD/CAM software to design your parts and convert them into G-code.
To begin your project, ensure you have a clear idea of your CNC machine’s intended purpose. Are you primarily working with wood, or do you want to cut through metals like aluminum? Your choice will influence the components and the machine’s overall design.
Building the Frame and Assembling Parts
The frame is the skeleton of your CNC machine and supports all the other components. The sturdier your frame, the better the precision of the machine.
Step 1: Construct the Frame
Start by assembling the frame using aluminum extrusions. It’s best to use materials like 15mm thick extruded aluminum plates for durability and rigidity. Ensure that each piece is precisely cut, as a poorly built frame will lead to inaccuracies in the machining process. The size of the machine will determine the dimensions of the frame, but generally, a working area of around 500mm x 500mm is suitable for hobbyist projects.
Pro tip: To get a perfectly aligned frame, make use of a right-angle clamp and a flat work surface. Bolt the frame together using M5 bolts to secure the joints properly. Make sure to double-check every joint to prevent any misalignment that could affect the final result.
Step 2: Mount the Linear Rails and Bearings
Once the frame is completed, mount the linear rails for the X, Y, and Z axes. Linear rails are critical for smooth, accurate movement. The Y-axis carriage must be secured tightly to the rails, as any movement here will affect the accuracy of the entire machine.
Mounting linear bearings on the frame ensures that the gantry slides smoothly along the axis, reducing friction and maintaining precision. You will need bearing blocks for each axis to connect the gantry to the linear rails.
Installing the Drive System
The drive system consists of ball screws, stepper motors, and drive nuts. This is what enables the machine to move along its axes.
Step 3: Attach the Ball Screws
A ball screw converts rotary motion into linear motion and is one of the essential parts for precision. Start by mounting the ball screw drive to the frame, and make sure it’s aligned with the corresponding axis. Misaligned screws can lead to binding, resulting in poor performance or damage.
The drive nut mount should then be attached to the moving part of the axis. A drive nut will transfer the movement of the ball screw to the gantry or spindle carriage.
For a typical homemade CNC, a 3.2KW ER20 Water-Cooled Spindle may be ideal for providing the required power and precision. 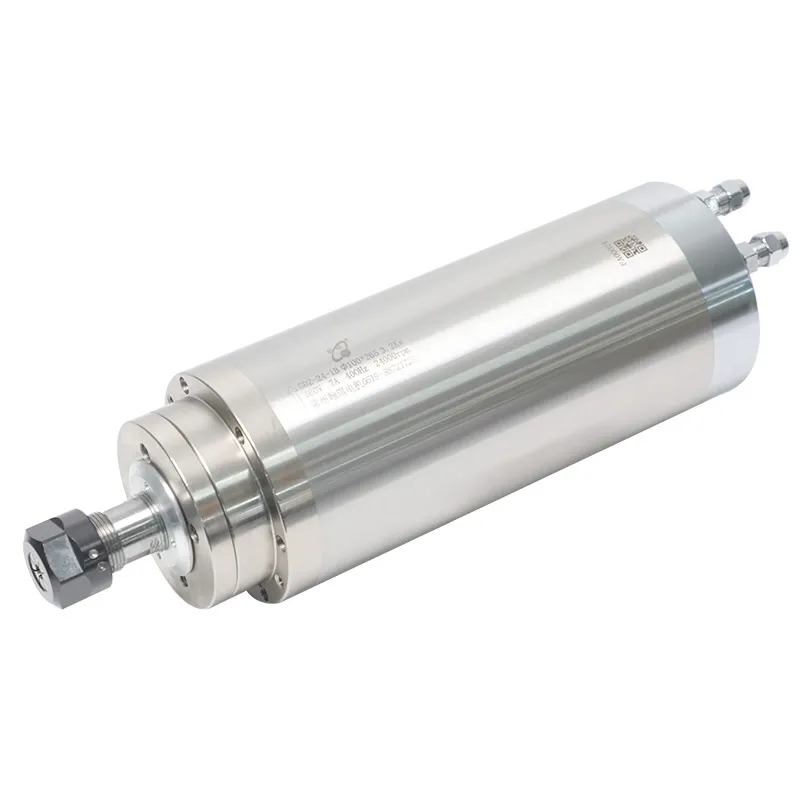
Step 4: Install the Stepper Motors
Stepper motors are responsible for moving the spindle across the X, Y, and Z axes. These motors should be mounted to each axis using a motor mount. It’s essential to ensure that the couplings connecting the stepper motors to the ball screws are tight to avoid any backlash during operation.
Stepper motors come in various torque ratings, and you need to pick one that is capable of moving the weight of your gantry and the spindle. For lighter setups, a NEMA 17 might be enough, while for larger, heavier setups, a NEMA 23 or even NEMA 34 may be necessary.
Installing the Spindle and Electronics
The spindle is the cutting tool, and without it, your CNC machine won’t be able to cut anything. The spindle is often one of the more expensive components but choosing the right one is critical for optimal performance.
Step 5: Install the Spindle Motor
Mount the spindle to the Z-axis carriage. A good option for this setup might be the 5.5KW ER32 Air-Cooled Spindle. 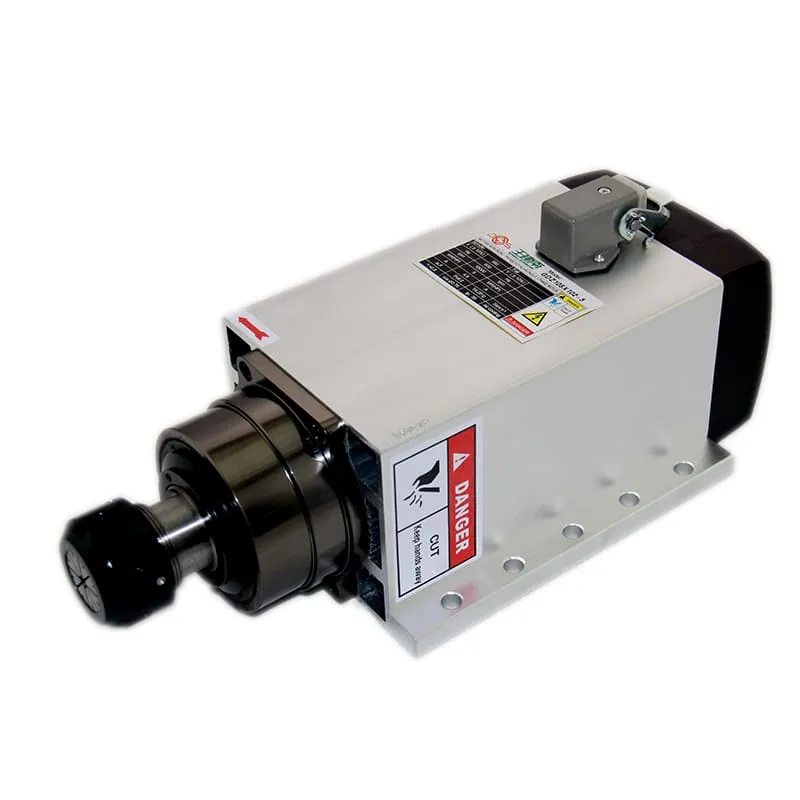
Make sure that the spindle is mounted with a spindle holder or clamp, and that it is securely attached to prevent any vibrations. Use cooling fans or a water-cooling system if you’re going to use the CNC for longer runs, especially with harder materials. Water-cooled spindles can maintain lower temperatures during continuous operation.
Step 6: Install the Electronics and Control System
Your CNC machine requires electronics to translate your designs into movements. For this, you’ll need a CNC controller board, a DC power supply, and individual stepper motor drivers. Each stepper motor needs a dedicated motor driver to function correctly.
- CNC Controller: This acts as the brain of your CNC. Common options include the Mach3 controller, which is user-friendly and compatible with many hobbyist CNC builds.
- Motor Drivers: Motor drivers take signals from the controller and provide enough power to move the motors. It’s important to select drivers that match the power ratings of your motors.
Software Setup and Calibration
Now that the hardware is installed, it’s time to focus on software and calibration.
Step 7: Set Up Your CNC Control Software
There are a variety of CAD/CAM software options to design parts and generate G-code. Popular options include Fusion 360 for CAD and Mach3 for controlling the CNC machine. The G-code tells the CNC how to move, where to cut, and at what speed.
Connect your CNC controller to your computer, and load your G-code into the controller software. Make sure to configure the settings to match the specifications of your CNC—things like step per millimeter, feed rate, spindle speed, and acceleration all need to be set up for accurate machining.
Calibration and Testing
To make sure everything is working correctly, you’ll need to calibrate and test your machine.
Step 8: Calibrate the Axes
Calibration is essential for achieving precision. You will need to set the steps per millimeter for each axis. This can be done by moving the axis a known distance and measuring the actual movement to ensure accuracy. Fine-tune the motor drivers to ensure the motors receive the correct voltage and current, minimizing the risk of skipped steps.
Step 9: Test Cuts and Fine-Tuning
Before starting with your real projects, perform test cuts to ensure everything is working as intended. Use a soft material like foam or MDF for your test cuts. Adjust the spindle speed and feed rates to achieve the best results. This stage is crucial to ensure that everything is functioning smoothly before moving on to more valuable materials.
Conclusion
Building a CNC machine from scratch may sound challenging, but with the right knowledge and tools, it’s achievable. The core of the process involves constructing a sturdy frame, installing linear motion components, setting up a robust spindle system, and accurately configuring the electronics and software. Whether your goal is to work with wood, metal, or plastic, your DIY CNC machine will give you the ability to machine precise, complex parts at home.
Don’t forget, choosing the right spindle motor is crucial for performance, and you can find various options like the 6KW ER32 Air-Cooled Spindle, tailored to fit different levels of CNC requirements. 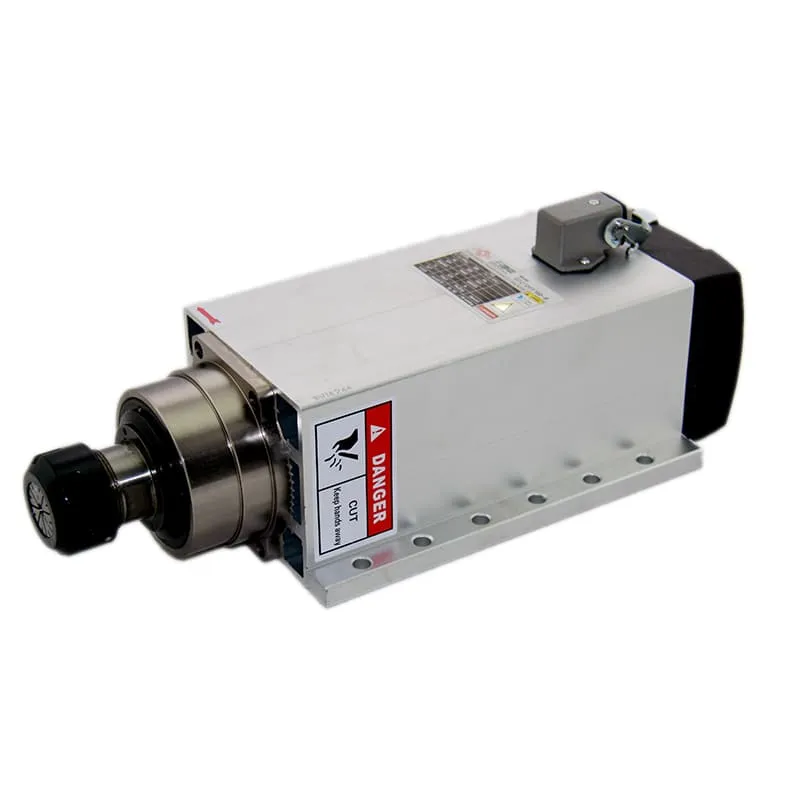
If you’re ready to start your CNC building journey or need more information about spindle motors, visit spindlemotorshop.com for quality components to power your project to success.

