Building your own CNC mill can be a rewarding project that not only provides valuable experience but also saves money compared to purchasing a ready-made CNC machine. A CNC mill can be used to create precision parts from a variety of materials like metal, plastic, or wood. In this comprehensive guide, we will explore each step of the process, from gathering the components to final assembly and setup, to help you build a CNC mill that meets your requirements.
Understanding the Basics of a CNC Mill
Before diving into the process of building a CNC mill, it is essential to understand the components that make up a CNC milling machine and how they work together. A CNC mill uses computer instructions to control its cutting tool, enabling precise material removal. The key components of a CNC mill include:
- Frame: The structure that provides support and stability.
- Linear Rails: Guide rails that ensure accurate movement of the machine.
- Stepper Motors or Servo Motors: These are used to control the machine’s movement.
- Spindle: The cutting tool that rotates at high speeds to mill the material.
- Controller: The brain of the CNC that receives instructions from the computer and converts them into mechanical movement.
Each of these components is crucial to ensuring the CNC mill works effectively and with precision.
Planning Your CNC Mill Build
The first step in building a CNC mill is careful planning. Determine your goals: What kind of materials do you want to work with? What level of precision is required? Considerations like the type of cutting jobs, workspace size, and budget are all critical at this stage. Here’s a checklist to help you plan your CNC mill:
- Define Project Scope: Establish what you want your CNC mill to be capable of—whether it will primarily mill wood, plastic, or metal.
- Choose Components: Make a list of the mechanical and electronic components you need.
- Budget Considerations: Establish a budget to determine whether to purchase high-end or budget-friendly components.
For DIY enthusiasts, deciding on the components can be a creative process that balances budget constraints with performance goals.
Selecting CNC Mill Components
The quality of components you choose directly influences the performance of your CNC mill. Below, we will break down the main components and how to select them.
1. Frame and Base
The frame provides the structural integrity needed for accurate milling. You can either choose to build your frame from steel or aluminum, or you can opt for a kit. For most DIY CNC mills, using aluminum extrusions is a common choice because they are lightweight and easy to work with.
- Steel Frame: Provides excellent rigidity, especially for cutting metals.
- Aluminum Frame: Lightweight, suitable for cutting wood and plastic.
- DIY Frame: You can make the frame from wood or MDF for light-duty milling projects.

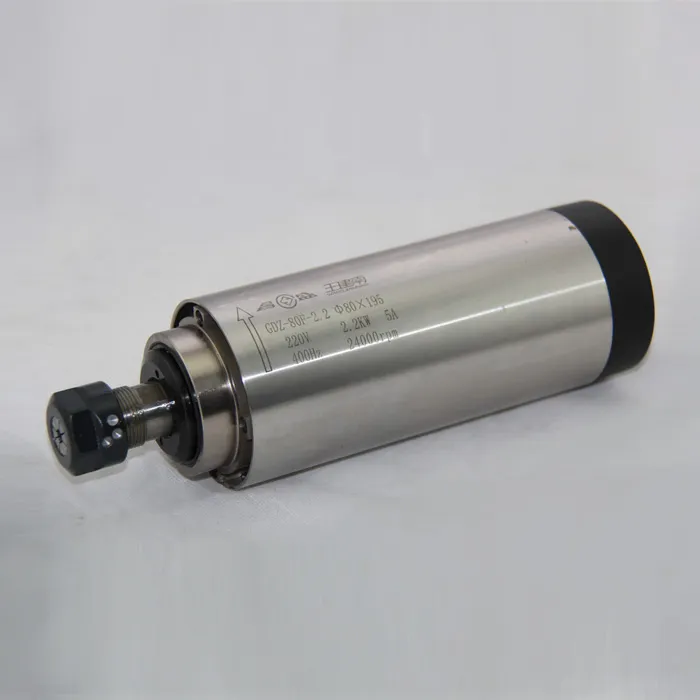
Image Credit: 2.2KW ER20 Air-Cooled Spindle
2. Spindle Selection
The spindle is one of the most critical components of a CNC mill. It is the rotating component that holds and powers the cutting tool. Depending on your budget and needs, you have several spindle options to consider:
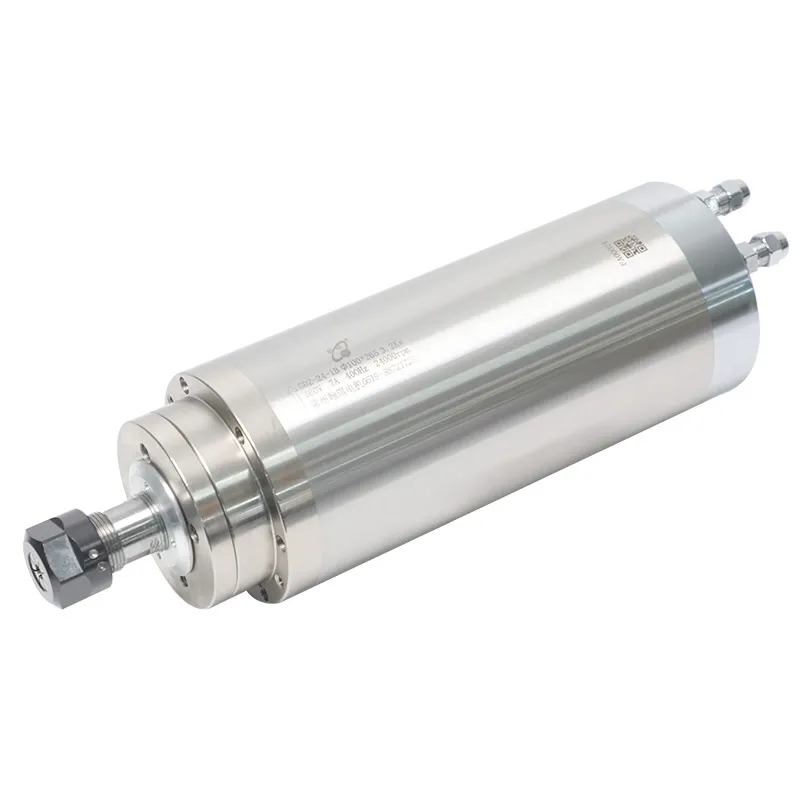
- Water-Cooled Spindles: These provide better cooling, making them suitable for prolonged milling operations. 24000RPM 3.2KW ER20 Water-Cooled Spindle is an ideal option for precision and durability.
- Air-Cooled Spindles: Easier to set up, but may overheat during extended operation.
When choosing a spindle, consider the types of materials you plan to cut and the operating speed required for those materials.
3. Linear Rails and Motion Systems
For smooth movement, linear rails or guide systems are used. The rails are responsible for maintaining the accuracy and stability of the cutting head.
- Round Rails: Easier to install, suitable for DIY builds, but may lack precision in heavy-duty operations.
- Profiled Rails: High-precision and rigidity, often used in professional-grade CNC machines.
Linear rails should be installed correctly to avoid misalignment, which can lead to inaccuracies during milling.
4. Stepper Motors and Drivers
Stepper motors are used to control the movement of the CNC mill. They move in small increments, allowing for high precision. Servo motors are an alternative that offers more speed and accuracy, but at a higher cost.
- Stepper Motors: More common in DIY projects, as they are cheaper and easier to work with.
- Servo Motors: Ideal for projects needing more precision and speed, such as milling metal.
In addition, you will need motor drivers to power the stepper or servo motors and convert the control signals into movement.
Electronics and Control System
1. Controller Board
The controller board acts as the brain of your CNC mill. It interprets G-code commands and directs the machine’s movements. Popular choices for DIY CNC mills include Arduino-based controllers like GRBL and more powerful options like Smoothieboard.
2. Power Supply
You will need a power supply capable of providing adequate power to all of the machine’s components. Make sure to match the voltage and amperage requirements of your motors and drivers.
3. Software Setup
The software plays a key role in the success of your CNC milling projects. Here are the main software types you need:
- CAD Software: For designing parts. Popular CAD software includes Fusion 360 and SolidWorks.
- CAM Software: Converts CAD drawings into G-code. Options like VCarve Pro and Autodesk CAM are commonly used.
- Control Software: This is the software that communicates with the controller board, such as Mach3 or LinuxCNC.
Assembling the CNC Mill
After gathering all components, it’s time to assemble the CNC mill. Below is a step-by-step guide for assembly:
- Build the Frame: Start by assembling the frame and ensuring that it is level and stable. Any misalignment here will affect the accuracy of the entire machine.
- Install Linear Rails: Attach the linear rails onto the frame. Ensure they are perfectly parallel to avoid binding or inaccuracies.
- Mount Stepper Motors and Spindle: Position the stepper motors in place for each axis (X, Y, Z) and mount the spindle securely.
- Install Electronics: Wire the stepper motors to their respective drivers, and connect the drivers to the controller board.
- Power Supply: Connect the power supply, making sure all components are correctly wired.
- Test Movements: Use the control software to test the machine’s movement on all axes, ensuring smooth and precise control.

Image Credit: 24000RPM 1.5KW ER11 Water-Cooled Spindle
Calibration and Testing
Once your CNC mill is assembled, you need to calibrate and test the machine. Calibration ensures the machine cuts accurately according to your designs. Key calibration steps include:
- Adjusting Steps Per Unit: Ensure that each axis moves exactly the distance it is supposed to when commanded.
- Squaring the Frame: Make sure all axes are perpendicular, which is crucial for accuracy.
- Spindle Alignment: Verify that the spindle is square to the cutting bed to avoid tapered cuts.
Testing your CNC mill involves running a few trial cuts using simple patterns to verify that the machine is working correctly and making adjustments as needed.
Safety Considerations
Building and operating a CNC mill requires strict adherence to safety protocols:
- Eye Protection: Always wear safety glasses while milling.
- Machine Guards: Ensure all moving parts are guarded to prevent accidents.
- Proper Ventilation: Milling creates dust and debris, especially when cutting wood. Proper ventilation or dust extraction should be used.
Tips for Effective Milling
- Use Sharp Tools: Dull tools can lead to poor cuts and can strain the machine.
- Proper Speeds and Feeds: Match the spindle speed and feed rate to the material to achieve a clean cut without causing damage.
- Regular Maintenance: Keep all components lubricated and clean, and check for wear regularly.
FAQs
1. What materials can I use with a DIY CNC mill?
A DIY CNC mill can work with wood, plastics, aluminum, and even steel with the right setup. The choice of material often depends on the spindle’s power and the machine’s rigidity.
2. What is the best spindle for a DIY CNC mill?
A water-cooled spindle, such as 24000RPM 3.2KW ER20 Water-Cooled Spindle, is a great choice due to its stability and durability for prolonged use.
3. How much does it cost to build a CNC mill?
The cost can vary significantly depending on the quality of components. On average, expect to spend $800 to $2000 for a functional DIY CNC mill, excluding specialized tools.
4. Can I upgrade my DIY CNC mill?
Yes, you can upgrade various components like spindle power, stepper motors, or even add features like a fourth axis for more complex milling tasks.
5. What software do I need for a DIY CNC mill?
You need CAD software for design, CAM software to generate G-code, and control software like Mach3 or LinuxCNC to communicate with the machine.
Conclusion
Building a CNC mill is a challenging yet highly rewarding project. It provides an opportunity to learn the intricacies of machining, electronics, and software control, while also allowing you to create custom parts for various projects. By selecting high-quality components and taking the time to calibrate your machine properly, you can create a CNC mill capable of achieving professional results. If you are interested in purchasing high-quality CNC spindle motors and related components, visit spindlemotorshop.com for an extensive selection of products to help you on your CNC journey.

