Building your own CNC plasma cutting table can be an ambitious and fulfilling project. For anyone with a keen interest in machining, metal fabrication, or DIY projects, a CNC plasma table can be an extremely powerful tool for cutting a wide variety of metals with precision. This guide will walk you through the steps involved in building a reliable and functional CNC plasma cutting table from scratch.
Understanding CNC Plasma Cutting Technology
Before delving into the process of building a CNC plasma cutting table, it is crucial to understand what CNC plasma cutting is and how it works.
CNC (Computer Numerical Control) plasma cutting involves using computer control to direct a high-powered plasma torch that can cut through conductive materials, such as steel, stainless steel, and aluminum. Plasma cutting technology uses compressed gas, which is turned into plasma by an electric arc. This superheated, ionized gas is used to cut through the metal with precision and speed.
Why Build Your Own CNC Plasma Cutting Table?
- Cost Efficiency: Commercially available CNC plasma tables can be quite expensive, often costing thousands of dollars. Building your own table can help cut down the costs significantly while tailoring the machine to your specific needs.
- Customization: By building your own CNC plasma cutting table, you have the freedom to customize the design, size, power, and features that are important for your work.
- Skill Development: Constructing a CNC machine is a great learning experience. You will develop skills related to electronics, mechanics, programming, and fabrication.
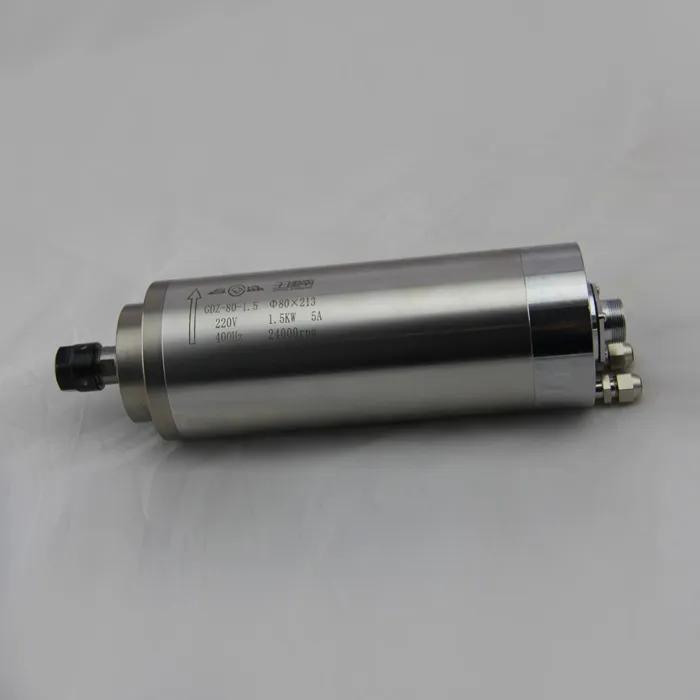
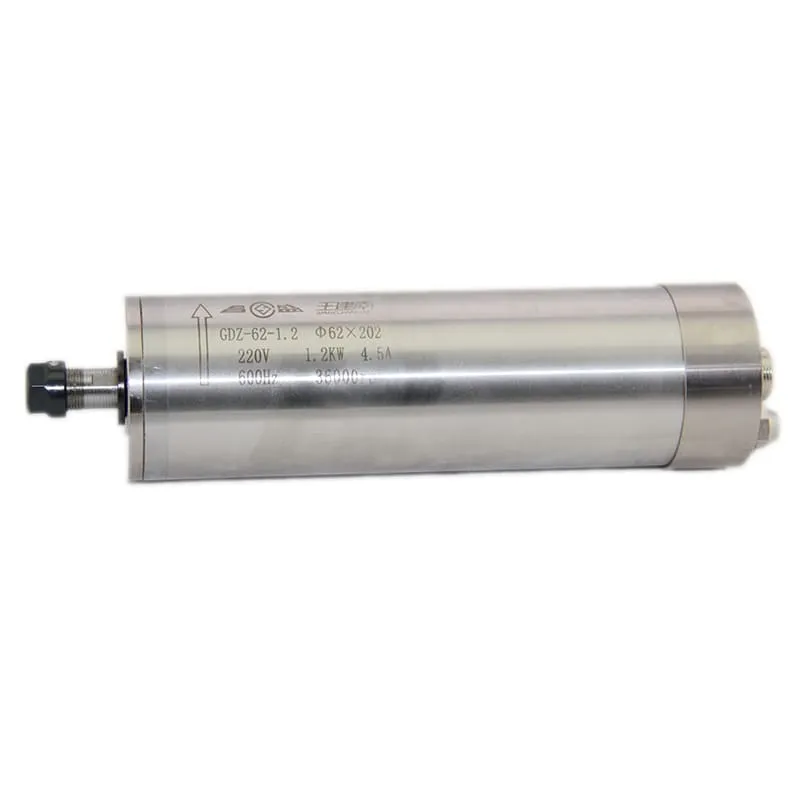
To find out more about spindle motors, which are also key components in CNC machines, check out our CNC Spindles page.
Tools and Materials Required to Build a CNC Plasma Cutting Table
Essential Tools and Components
| Item | Purpose |
|---|---|
| Plasma Cutter | The cutting tool that performs the plasma cutting |
| Stepper Motors | Drives the movement of the CNC axes |
| Linear Rails | Provides smooth linear movement for the cutting head |
| Ball Screws | Converts rotational movement to linear movement |
| Water Table | Helps in reducing heat and smoke during cutting |
| Controller Board | Manages the CNC machine’s motion through programming |
| Steel Frame | Forms the structure of the CNC plasma table |
| Power Supply | Powers the electronics and plasma cutter |
Safety Considerations
Before you start building your CNC plasma cutting table, it is essential to prioritize safety:
- Wear Safety Gear: Always wear gloves, safety goggles, and fire-resistant clothing.
- Ventilation: Plasma cutting generates a lot of fumes, so ensure you have proper ventilation or an exhaust system in place.
- Fire Safety: Always keep a fire extinguisher nearby when using plasma cutters.
Step-by-Step Guide to Building Your Own CNC Plasma Cutting Table
1. Designing the CNC Plasma Cutting Table
The first step in building a CNC plasma table is designing the frame and the cutting area. You can use CAD software like Fusion 360 or SolidWorks to draft a plan for the structure.
- Frame Dimensions: Choose dimensions that match the type of work you plan to do. Most DIY CNC plasma cutting tables range from 4′ x 4′ to 4′ x 8′.
- Water Table Integration: Include a water table below the cutting area to catch molten metal and reduce the smoke.
Tip: Consider the materials you will primarily cut. If you plan on cutting thicker metals, ensure that the frame is sturdy enough to handle the weight.
For more spindle options to assist your CNC table construction, visit our CNC Router Spindles section.
2. Constructing the Frame
- Material Selection: Use steel tubing or aluminum extrusions to construct the table frame. Steel is preferred for heavy-duty plasma cutting, while aluminum is a lightweight alternative.
- Cut and Assemble the Frame: Cut the steel or aluminum tubing to match your design and weld or bolt the pieces together.
- Add Leveling Feet: Install leveling feet to ensure the table remains stable during cutting.
3. Adding Linear Rails and Motion Systems
Once the frame is complete, the next step involves setting up the linear motion systems.
- Install Linear Rails: Attach linear rails along the X and Y axes. These rails guide the movement of the plasma cutter for precise cutting.
- Stepper Motors and Ball Screws: Mount stepper motors and ball screws to control the movement of the cutting torch. Ball screws convert rotary movement from the motors to linear movement.
Quote: “Precision comes from proper alignment. Ensure that the linear rails are mounted perfectly parallel to achieve clean and accurate cuts.” – CNC Expert, David Wong
4. Mounting the Plasma Torch
- Select the Plasma Cutter: Choose a plasma cutter based on the thickness of materials you plan to cut. 60-amp to 80-amp plasma cutters are generally sufficient for most DIY CNC plasma tables.
- Mount the Torch: Attach the plasma cutter to the Z-axis assembly, allowing it to move up and down to adjust the cut depth.

5. Setting Up the Controller and Electronics
The controller is the brain of your CNC plasma cutting table. It directs the movement of the machine based on G-code instructions.
- Control Board: Use a controller like Arduino with GRBL firmware or a dedicated CNC controller to manage the stepper motors.
- Wiring the Electronics: Connect the stepper motors, limit switches, and plasma cutter to the control board. Ensure all wiring is neat and secured to prevent interference.
- Emergency Stop: Install an emergency stop button to quickly power down the machine if necessary.
6. Installing the Water Table
A water table is a vital addition to your CNC plasma cutting table. It reduces heat, traps sparks, and helps minimize smoke.
- Construct the Water Table: Build a shallow tray beneath the cutting surface and fill it with water. This will absorb the heat and catch metal dross during the cutting process.
- Positioning: Make sure the water table is level and directly beneath the area where plasma cutting occurs.
7. Software Setup for CNC Plasma Table
- Design Software: Use CAD programs like Inkscape or AutoCAD to create designs. The designs are then converted into G-code using CAM software.
- Control Software: Programs like Mach3 or LinuxCNC are used to control the plasma table. Load the G-code into the software to begin cutting.
- Calibration: Calibrate the machine by running test cuts to verify accuracy in both positioning and cutting depth.
Recommended Spindles for CNC Plasma Table Projects

Troubleshooting Common CNC Plasma Table Issues
1. Inconsistent Cut Quality
This issue can be caused by several factors, such as incorrect torch height or improper grounding.
Solution: Ensure that the torch height is set properly for the material thickness and that the ground clamp is securely attached to the workpiece.
2. Stepper Motor Slippage
If the stepper motors slip, the machine will not move accurately, resulting in flawed cuts.
Solution: Check the tension of the timing belts and ensure that the ball screws are securely mounted.
3. Excessive Smoke
A common problem with plasma cutting is the amount of smoke generated.
Solution: Make sure your water table is functioning correctly, and consider installing an exhaust system to remove fumes.

Frequently Asked Questions
1. What materials can I cut with a CNC plasma table?
You can cut a variety of metals, including steel, stainless steel, and aluminum, with a CNC plasma cutting table. The thickness depends on the power of your plasma cutter.
2. How much does it cost to build a CNC plasma cutting table?
The cost can range from $1,000 to $3,000, depending on the size of the table and the quality of components you choose.
3. Do I need a water table?
Yes, a water table is highly recommended for a CNC plasma table. It helps reduce heat and smoke, improving the cutting environment.
4. What kind of software do I need?
You will need CAD software for design, CAM software for generating G-code, and control software like Mach3 to operate the CNC plasma table.
5. Can I use my CNC plasma table for other purposes?
While CNC plasma tables are designed for cutting metal, you can repurpose the frame and components for other types of CNC machines, such as a router, with appropriate modifications.
Conclusion
Building a CNC plasma cutting table from scratch is a rewarding endeavor that can significantly enhance your metalworking capabilities. The ability to make precise cuts through thick metal opens up a wealth of creative opportunities, from crafting parts to fabricating artwork. By following this guide and paying careful attention to detail in both design and construction, you can build a machine that meets your specific needs while staying within budget.

