Fusion 360 by Autodesk has quickly become one of the most popular CAM software tools available for both professionals and hobbyists alike. It is a versatile, easy-to-use, and powerful tool for designing and creating CNC toolpaths to bring your CNC machining projects to life. If you’ve ever wondered how to use Fusion 360 to control your CNC machine, this guide will take you step-by-step through the process—from setting up your toolpaths to post-processing your G-code and running your machine. Let’s dive in and explore how to CNC with Fusion 360 effectively.
What is Fusion 360?
Fusion 360 is a cloud-based 3D CAD, CAM, and CAE software for product design and manufacturing. It combines design, engineering, simulation, and manufacturing into one easy-to-use platform, which makes it ideal for CNC machining. Fusion 360 is particularly popular for its robust CAM functionality that includes everything from 2D machining to advanced 5-axis CNC operations.
- CAD (Computer-Aided Design): Create or import 3D models to be machined.
- CAM (Computer-Aided Manufacturing): Set up your toolpaths for CNC machining, create cutting strategies, and post-process them into G-code.
- CAE (Computer-Aided Engineering): Perform simulations to check for stresses or deformations in your part before machining.
In this guide, we will focus on how to use Fusion 360 to prepare and execute CNC machining. This includes setting up the job, selecting tools, and generating toolpaths.
Setting Up Fusion 360 for CNC Machining
Before you start machining with Fusion 360, you need to understand how to set up your work environment properly. Here are the steps to help you get started.
1. Installing and Setting Up Fusion 360
The first step is to download and install Fusion 360 from Autodesk’s official website. Once installed, open Fusion 360 and set up your environment.
- Preferences: Go to File > Preferences and configure settings for unit systems and appearance.
- Cloud Storage: Since Fusion 360 is cloud-based, your files are stored online. You can also work offline when needed.
“Fusion 360 allows for both online and offline work, making it versatile for various working environments.”
2. Importing Your Design
You can either create your design within Fusion 360 or import an existing design file.
- Create: Use Fusion 360’s design workspace to build your model.
- Import: If you have a model from other CAD software, you can import formats like STEP, IGES, STL, etc.
3. Setting Up the Work Coordinate System (WCS)
The Work Coordinate System (WCS) is critical for ensuring your CNC machine understands where the part is located. Here’s how to set it up in Fusion 360:
- Define Zero Point: Typically, the bottom-left corner or the center of the material stock is chosen as the zero point.
- Tool Orientation: Choose the appropriate tool orientation that matches how your workpiece is mounted on the machine.
Toolpath Setup in Fusion 360
Toolpaths are essentially the heart of CNC machining with Fusion 360. A well-defined toolpath ensures the tool moves accurately, resulting in a high-quality machined part. Let’s explore the steps involved in setting up a toolpath.
1. Creating a Setup
To start the machining process, you need to create a Setup in the Manufacture workspace.
- Stock Setup: Specify the dimensions of the material stock. Fusion 360 automatically calculates the work area.
- Setup Box Point: Define the origin for the operation, which can be any of the points in the box created for stock.
2. Selecting Tools from the Library
Fusion 360 includes a vast tool library, where you can choose the appropriate milling tool based on your material.
- Tool Type: Depending on the type of material and operation, choose an end mill, ball nose, or v-bit.
- Tool Diameter: Ensure the tool diameter matches the requirements of the feature you want to machine. For instance, use a 6mm flat end mill for roughing passes and a 2mm ball nose for finer details.
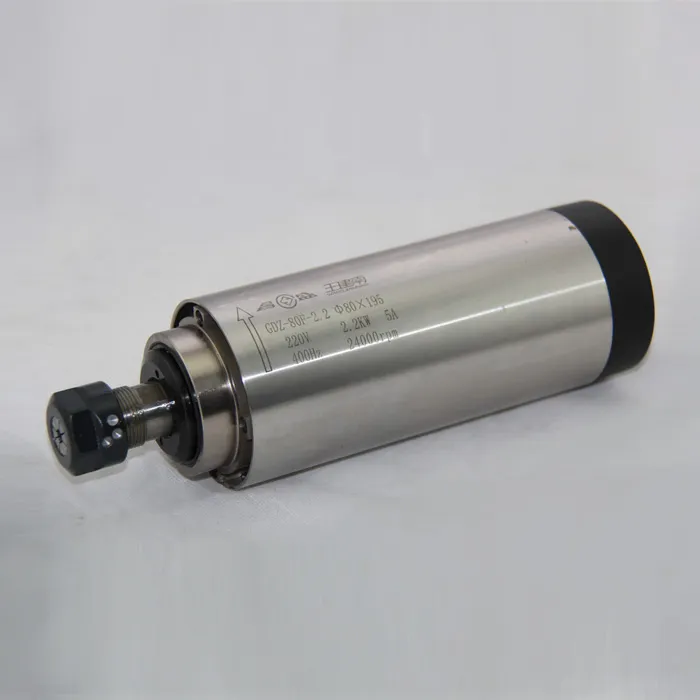
To get optimal performance from your CNC, choose the right spindle. The 2.2KW ER20 Air-Cooled Spindle is an excellent option for precision cutting. 
3. Toolpath Types
Fusion 360 offers different types of toolpaths depending on your machining needs.
- 2D Toolpaths: Ideal for simple parts like pocketing and contouring.
- 3D Toolpaths: Used for machining complex geometries, often in 3D sculpted parts.
- Adaptive Clearing: This type of roughing toolpath is optimized to remove the bulk of material efficiently and extend tool life.
- Finishing Passes: Finishing passes like Parallel, Contour, and Scallop are used to get the final surface quality.
Toolpath Settings in Fusion 360
To ensure your toolpath produces the best possible part, you need to tweak different settings in Fusion 360. Let’s take a look at the key tabs you need to adjust.
1. Passes Tab
The Passes tab helps determine how much material is cut on each pass. The parameters you need to configure include:
- Maximum Stepdown: Set the maximum stepdown to control how deep each pass should be. This prevents tool breakage and extends tool life.
- Multiple Depths: Check the multiple depths box to split the operation into several passes, particularly useful for roughing operations.
2. Heights Tab
The Heights tab determines the height at which the tool moves while cutting.
- Clearance Height: This is the height the tool retracts to after each pass, ensuring it doesn’t hit any fixtures or clamps.
- Bottom Height: Set this to the bottom of the stock for pocket milling or similar operations.
3. Linking Tab
The Linking tab configures the transitions between cuts and how the tool moves when it is not engaged with the material.
- Lead-In/Lead-Out: Adjust these settings for smoother entry and exit to avoid visible marks on the part.
- Ramp Type: Choose between Helical, Zigzag, or Plunge based on the requirements of the operation.
Post-Processing: Generating G-Code
Once your toolpaths are finalized, it’s time to convert them into G-code that your CNC machine can understand.
1. Post-Processing in Fusion 360
Click on the Post Process button in the Manufacture workspace. You need to select the correct post-processor for your machine.
- Machine Selection: Choose your specific CNC machine or a compatible one from the list of available post-processors.
- Customizing Code: You can tweak the G-code parameters to customize the commands sent to your CNC machine.
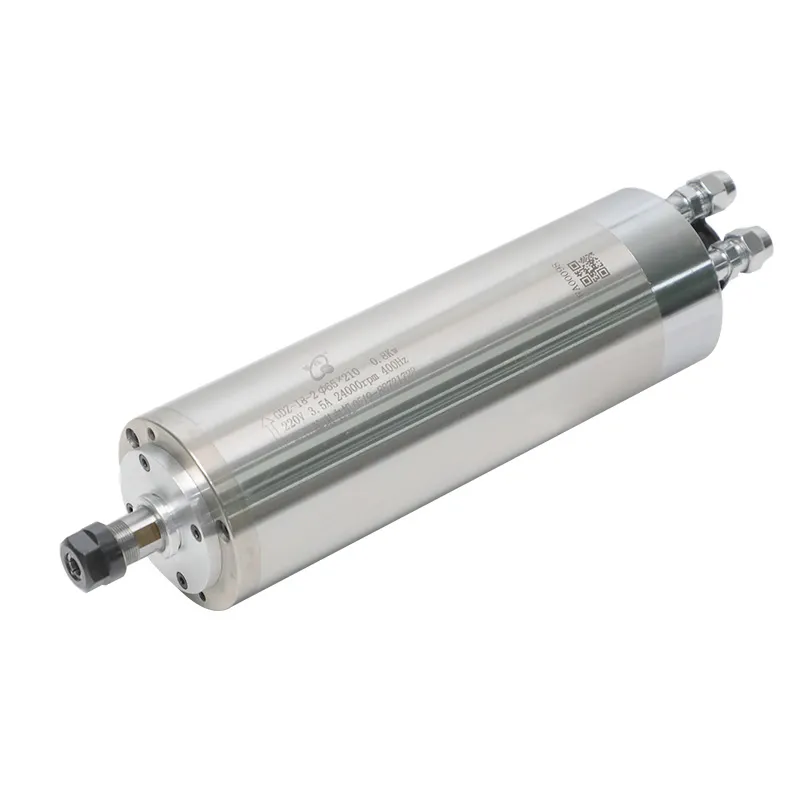
For water-cooled spindles capable of longer sessions, consider the 24000RPM 0.8KW ER11 Water-Cooled Spindle for smoother cutting. 
2. Sending G-Code to the CNC Machine
Once the G-code file is ready, it’s time to load it onto your CNC machine.
- USB or SD Card: Most CNC machines accept G-code via USB drives or SD cards.
- Direct Connection: You can also connect Fusion 360 directly to your machine if it supports real-time communication.
Tips for Effective CNC Machining with Fusion 360
1. Select the Right Tool for Each Operation
Choosing the right tool is crucial for the success of a CNC project. Consider factors like material type, cutting speed, and tool strength when selecting a tool.
- End Mills: Good for general-purpose milling and pocketing.
- Ball Nose Cutters: Great for 3D surface machining to produce smoother contours.
2. Adjust Feed and Speed Settings
Proper feed rate and spindle speed settings can mean the difference between a perfect cut and a broken tool.
- Feeds and Speeds Calculator: Utilize a feeds and speeds calculator or the recommendations provided by Fusion 360 to ensure you get the right parameters.
- Test Cuts: Always run a test cut on a scrap piece before milling your final material.
3. Simulate Before Machining
Fusion 360 offers powerful simulation capabilities that let you preview the entire machining process before you start cutting.
- Collision Detection: Check for any collisions between the tool and stock.
- Toolpath Verification: This feature allows you to visualize each step, ensuring the toolpaths match your expectations.
Common Mistakes and How to Avoid Them
1. Incorrect Tool Selection
Choosing the wrong tool can lead to tool breakage or a poor-quality surface finish.
- Solution: Familiarize yourself with the tool library in Fusion 360 and consult the manufacturer’s recommendations.
2. Overlooking Toolpath Parameters
If you don’t set the toolpath parameters correctly, it could result in excessive tool wear or poor-quality machining.
- Solution: Always verify heights, passes, and linking tabs to ensure optimal settings.
3. Not Using Hold-Down Methods
If the material is not properly secured, it can move during machining, causing inaccuracies.
- Solution: Use clamps, vacuum tables, or specialized fixtures to keep your material stationary.
Frequently Asked Questions About CNC Machining with Fusion 360
1. What is the best spindle for CNC machining with Fusion 360?
The spindle type depends on your application. For woodworking and hobby projects, an air-cooled spindle like the 2.2KW ER20 Air-Cooled Spindle is a great choice.
2. Can I use Fusion 360 for free?
Fusion 360 offers a free version for personal use with limited capabilities, which is great for hobbyists and beginners.
3. How do I prevent my CNC from crashing during operation?
Ensure toolpath simulation is performed to catch any possible collisions before starting the actual machining.
4. What are adaptive toolpaths in Fusion 360?
Adaptive toolpaths are used for roughing. They help in efficiently removing large volumes of material while prolonging tool life.
5. How do I create a custom tool in Fusion 360?
You can create custom tools in the tool library by defining the parameters like tool diameter, flute length, and more.
Conclusion
CNC machining with Fusion 360 is an incredibly rewarding way to bring your designs to life, whether you’re working on wood, metal, or plastic. From setting up your work environment, selecting the right tools, and generating precise toolpaths, to successfully post-processing your G-code, every step of the process contributes to the quality of the final output.
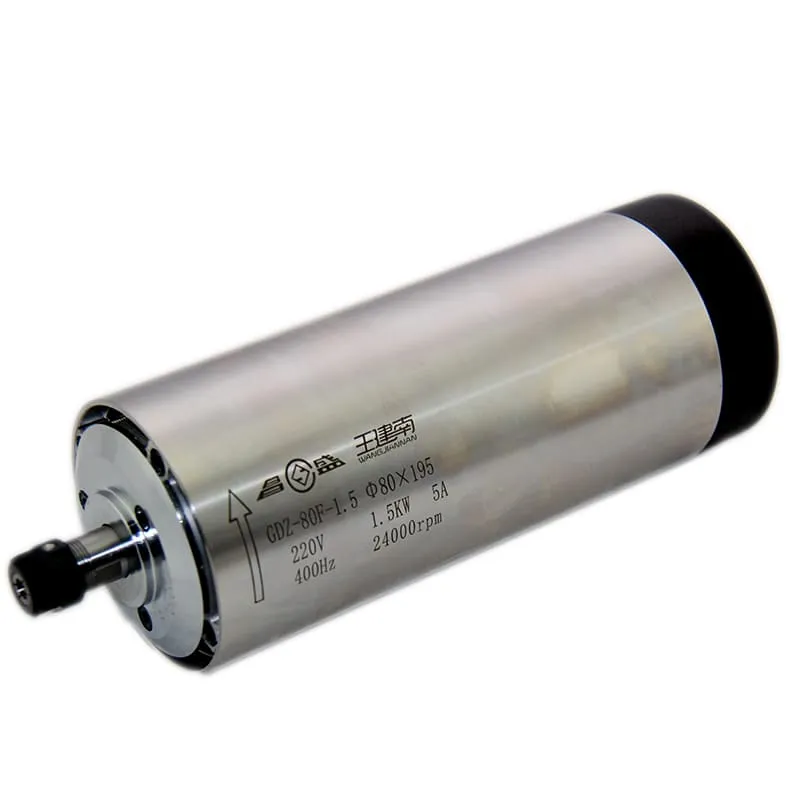
Whether you’re a hobbyist or a seasoned machinist, getting the right spindle is key to a successful CNC project. Explore options like the 1.5KW ER11 Round Air-Cooled Spindle for reliable performance.  Equip your CNC with the best components to get the precision and quality that makes your projects shine!

