How to Make a CNC Machine at Home
Building a CNC machine at home is an exciting and rewarding endeavor. It empowers you to create precision parts from various materials such as wood, metal, or plastic. Whether you are a seasoned craftsman or just starting your journey into the world of CNC, the process can be both challenging and fulfilling. In this comprehensive guide, we will walk you through everything you need to know about making a CNC machine at home, from planning and component selection to the assembly and final testing.
What is a CNC Machine?
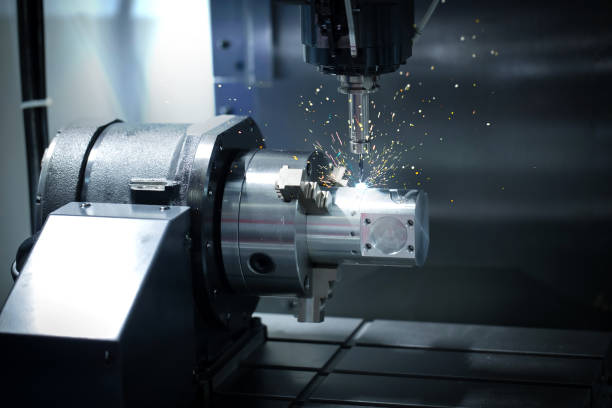
Before we dive into the process of building one, let’s first define what a CNC machine is. CNC stands for Computer Numerical Control, which means the machine uses computer programming to control its operations. CNC machines are designed to precisely cut, carve, or engrave materials like wood, metal, plastic, and even acrylic. They are often used in industrial settings, but they can also be made and used at home for personal projects.
A homemade CNC router typically consists of the following components:
- Stepper Motors: Control the movement of the CNC along different axes.
- Ball Screws and Linear Rails: Provide precise and smooth linear motion for accuracy.
- Motor Mount and Side Plates: Support the stepper motors and maintain the machine’s structural integrity.
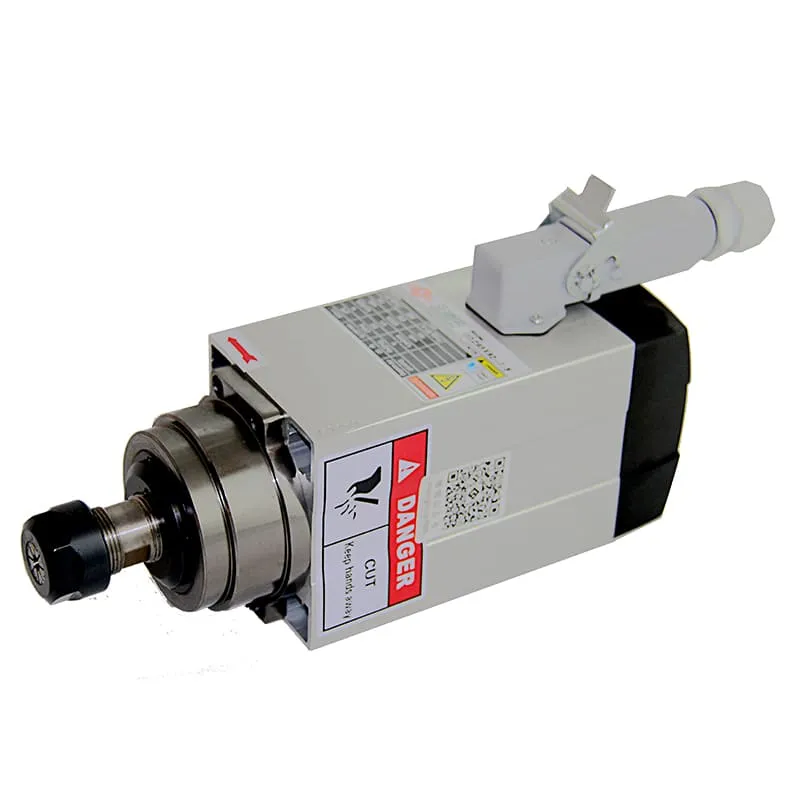
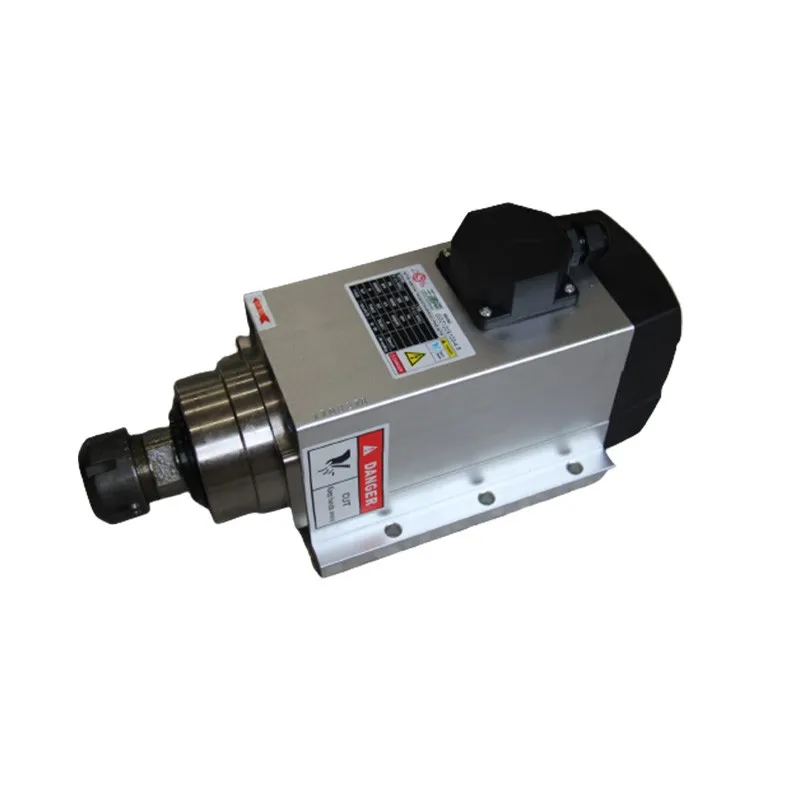
- Spindle: This is the cutting tool that performs the material removal, either by drilling or milling.
When building a CNC machine at home, you will also need software to design parts and generate toolpaths, which define how the machine cuts through material.
Planning Your Homemade CNC Machine
Determine the Purpose and Specifications
The first and most critical step is to decide what kind of CNC machine you want to build. It could be a router for woodworking, a mill for metalwork, or a mixed-purpose machine. Understanding your specific requirements will help guide decisions about the materials, components, and size of your CNC.
- Size: Decide on the dimensions of your cutting area, or cutting bed. For larger projects, a larger cutting bed is essential, but it will also require a more robust structure.
- Materials: Think about what you want to cut—wood, metal, or plastic. This will determine the spindle strength and the types of linear rails needed.
- Budget: Building a CNC router can range in cost from a few hundred to thousands of dollars depending on your choice of materials and components. Planning this in advance will prevent overspending.
To create an effective plan, it’s a good idea to sketch a basic blueprint of your CNC machine or use a CAD program to make a digital model. This will help you get a clearer vision of the scale, structure, and how the different parts will fit together.
Components Required for Your CNC Build
A typical homemade CNC router consists of several essential components:
| Component | Description |
|---|---|
| Stepper Motors | These control the movement of each axis. |
| Ball Screws | Convert motor movement into precise motion. |
| Linear Rails | Guide the moving parts with minimal friction. |
| Spindle | The cutting tool for material removal. |
| Frame | The base structure, usually made of aluminum. |
For building a stable and effective CNC machine, it is crucial to select high-quality parts. You can explore a wide range of spindles such as the 1.5KW ER11 Square Air-Cooled Spindle available at SpindleMotorShop, which is a great choice for beginners.

Selecting the Right Frame Material
The frame is the foundation of your CNC machine. Most DIY builders use aluminum extrusions because they offer an excellent balance of strength, weight, and stability. Another option is steel, which is more rigid but also heavier, making it harder to handle. Regardless of your choice, the frame should be rigid enough to handle the forces generated during cutting without flexing.
- Aluminum Extrusions: Easy to work with, lightweight, and versatile.
- Steel Tubing: Provides excellent rigidity but adds to the weight and complexity of construction.
For a robust structure, we recommend using aluminum extrusions and securing them using M5 bolts and drilled and tapped holes to ensure that all joints are tight and stable.
Step-by-Step Guide to Building a CNC Machine at Home
1. Frame Construction
The frame serves as the backbone of your CNC machine. It must be strong and level for the machine to perform accurately. Here’s how to assemble your CNC frame:
- Cut the Aluminum Extrusions: Measure and cut your extrusions to match the planned dimensions.
- Bolt Together: Use M5 bolts to secure each part of the frame. Ensure everything is tightly fastened.
- Check for Squareness: Misalignments can lead to errors in cutting. Make sure the frame is perfectly squared.
For the frame, consider using a mix of aluminum plates and extrusions for rigidity while keeping the overall weight manageable. A good CNC frame is what ensures precision and repeatability during cutting.
2. Installing Linear Rails and Ball Screws
After assembling the frame, it’s time to install the linear motion components.
- Linear Rails: Attach linear rails to the sides of the frame. These guide the X, Y, and Z axes and allow them to move with minimal friction.
- Ball Screws: Ball screws convert rotational movement into precise linear movement. Install the ball screws along each axis to control its motion.
To prevent binding or misalignment, it’s essential that the bearing blocks and ball screws are installed perfectly parallel to each other. This ensures that the movement along each axis is smooth and precise.
3. Mounting Stepper Motors
Stepper motors are what drive your CNC machine, converting electrical pulses into precise mechanical movements. Attach the stepper motors to each axis using motor mounts:
- Motor Mounts and Side Plates: These mounts hold the motors in place, providing a secure attachment point.
- Motor Couplers: Connect the motors to the ball screws using motor couplers, which are typically flexible to accommodate slight misalignments.
Consider using individual drivers for each motor to provide enough torque for accurate movement. Having a strong power supply is also critical to ensure the motors run effectively.
4. Setting Up the Spindle
The spindle is one of the most critical parts of your CNC machine. It is responsible for cutting through the material. Here’s how to install and set it up:
- Mount the Spindle: Attach the spindle securely to the Z-axis using a spindle mount. Ensure it is well-aligned to avoid any inaccuracies during cutting.
- Cooling Setup: Depending on the spindle type, set up cooling accordingly. Air-cooled spindles are simple to use, while water-cooled spindles require a cooling loop with water circulation.
For higher power requirements, a spindle like the 4.5KW Air-Cooled Spindle with Flange is recommended. This spindle provides the power needed for cutting tougher materials, such as aluminum.

5. Electronics and Wiring
With the mechanical setup in place, the next step is wiring up the electronics.
- Controller Board: This is the brain of your CNC machine. It receives the G-code from your computer and translates it into commands for the motors. Popular controller options include GRBL and Mach3.
- Power Supply: A robust power supply is needed to provide adequate power to the stepper motors and spindle. Make sure the voltage matches the requirements of your components.
- Wiring the Motors and Drivers: Connect each stepper motor to its respective driver. Make sure to wire the motors correctly as incorrect wiring can cause erratic or incorrect movements.
Take your time during the wiring process. Proper grounding and insulation are essential to prevent electrical shorts or signal interference.
Software Setup for CNC Control
CAD and CAM Software
To create a design, you need CAD (Computer-Aided Design) software, and for generating the toolpaths, you need CAM (Computer-Aided Manufacturing) software. Some popular options are:
- Fusion 360: A comprehensive solution that handles both CAD and CAM functions.
- VCarve: Well-suited for woodworking and offers intuitive tools for generating toolpaths.
Once your design is ready, you will export it as G-code. The G-code provides the step-by-step commands for your CNC machine, telling it how to move and where to cut.
G-Code Sender and Machine Operation
To send the G-code to your CNC machine, you need software like Universal G-Code Sender (UGS). It acts as the link between your computer and the CNC controller board.
- Load the G-code: Use UGS or any other G-code sender to load the file.
- Run Test Movements: Before cutting, do a dry run with the spindle turned off. This will help confirm that the machine is following the correct path.
For those just starting, Easel is another great option for beginners, with a simplified user interface and easy learning curve.
Testing and Calibrating Your CNC Machine
Once everything is assembled, it’s time to test and calibrate your machine.
- Run Test Cuts: Start with simple test cuts on softer materials like MDF. This helps in determining whether everything is aligned and moving as expected.
- Adjust Feed Rate and Spindle Speed: Adjustments might be necessary depending on the material. The feed rate should be high enough to prevent burning but slow enough to ensure accuracy.
- Check for Backlash: Backlash can lead to inaccuracies. It occurs when there’s a delay between the direction change in a screw and the actual movement. Adjust the ball screws and couplings to minimize backlash.
Testing will help you fine-tune the machine, ensuring that it delivers precise and repeatable cuts on a variety of materials.
Tips for Successful CNC Building
- Use High-Quality Bearings and Ball Screws: This will improve the accuracy and longevity of your CNC machine.
- Take Time to Align Everything: Proper alignment during assembly will reduce errors and produce cleaner cuts.
- Work in a Well-Lit and Spacious Area: Having enough space to move around and properly see all components makes the process smoother and more enjoyable.
Frequently Asked Questions (FAQs)
1. How much does it cost to build a CNC machine at home?
The cost varies greatly based on the quality of materials and the components you use. You could spend anywhere between $500 to $3000 on building a reliable CNC machine.
2. What are the main parts of a CNC router?
The primary components are the spindle, stepper motors, ball screws, linear rails, and a controller board. These elements work together to provide accurate cutting and engraving capabilities.
3. Can I use a router instead of a spindle?
Yes, a router can be used instead of a spindle. However, spindles are generally quieter and provide better control over speed, which is critical for different materials.
4. What software do I need to design and cut parts?
You need CAD software to design your parts and CAM software to create toolpaths. Popular choices include Fusion 360, VCarve, and Easel.
5. How do I ensure my CNC machine is accurate?
Accuracy can be improved by careful calibration, using high-quality linear bearings and ball screws, and ensuring that all components are correctly aligned.
Conclusion
Building a CNC machine at home is both a technical challenge and an amazing learning experience. By carefully selecting the right components—such as stepper motors, ball screws, and a high-quality spindle—and ensuring that the frame is rigid and perfectly aligned, you can create a versatile machine capable of producing complex designs with accuracy. Throughout the process, maintaining patience and precision will result in a rewarding, fully functional homemade CNC router that meets your project needs.
If you’re looking for high-quality components to build your CNC machine, visit SpindleMotorShop, where you can find various spindles, motors, and other essential parts for your build. Remember, building your own CNC machine is not just about saving money—it’s about creating something unique and gaining valuable skills that will serve you well in future projects.

