Building your own CNC machine might sound like a challenging project, but it is also highly rewarding. Whether you’re an enthusiastic DIYer or a budding CNC enthusiast, making your CNC machine can open up a world of possibilities for personalized designs and precise machining. This guide will walk you through each step, helping you create a fully functional homemade CNC machine.
Understanding What a CNC Machine Is
CNC (Computer Numerical Control) machines are devices that use computer programming to control the movement of tools for precise machining of materials. They are widely used in industries and workshops for creating precise cuts, patterns, and forms in different materials, including wood, metal, and plastic.
Why Build Your Own CNC Machine?
- Cost-Efficient: Commercial CNC machines can be quite expensive. Building your own can help you save money, especially if you have access to basic tools and some materials.
- Customization: You have control over every aspect of the machine, allowing you to customize its size, power, and features based on your specific needs.
- Learning Experience: The process of building a CNC machine will teach you a lot about electronics, mechanics, and computer programming, enhancing your skills as a maker.
Learn more about spindle motors for CNC and why they are essential for precise machining by visiting our CNC Spindles page.
Tools and Materials Needed
To build your CNC machine, you’ll need a variety of tools and materials. Below is a list of essentials to get you started.
Tools and Materials Required
| Item | Purpose |
|---|---|
| Stepper Motors | Controls the movement of the machine axes |
| Linear Rails | Provides linear motion for accuracy |
| Ball Screws | Converts rotational motion to linear motion |
| Aluminum Extrusions | Forms the machine frame |
| Power Supply | Powers the CNC electronics |
| Arduino Board | Controls machine functions through programming |
| Timing Belt & Pulleys | Moves the X, Y, and Z axes |
| Spindle Motor | Spins the cutting tool for material machining |
Safety Precautions
Before you start building your CNC machine, make sure to wear safety glasses, gloves, and work in a clean, well-ventilated area. Handling tools like saws, drills, and grinders require extra caution.
Step-by-Step Guide to Build a Homemade CNC Machine
1. Create the CNC Frame
The frame is the backbone of your CNC machine. Using aluminum extrusions is recommended for a strong yet lightweight frame.
- Step 1: Cut the aluminum extrusions to the desired length.
- Step 2: Assemble the frame using brackets and screws, ensuring it forms a rigid and square structure.
- Step 3: Attach the linear rails along the frame’s X and Y axes to allow smooth movement of components.
Tip: Use a square ruler to ensure all parts are aligned perfectly to avoid issues with precision during machining.
To read more about spindle components that help with precision, check our CNC Spindle Motors section.
2. Install Linear Motion Systems
Once the frame is in place, the next step is installing the linear motion components, which include ball screws, linear bearings, and stepper motors.
- Ball Screws and Linear Rails: These components guide the movement along the X, Y, and Z axes. Use bearing blocks to secure the linear rails and ensure they are parallel to the frame for precise motion.
- Stepper Motors: Mount the stepper motors at each axis to control the linear movement. Ensure they are securely fixed to prevent any vibration or misalignment.
3. Install Spindle Motor
The spindle motor is crucial for performing precise cuts and engravings.
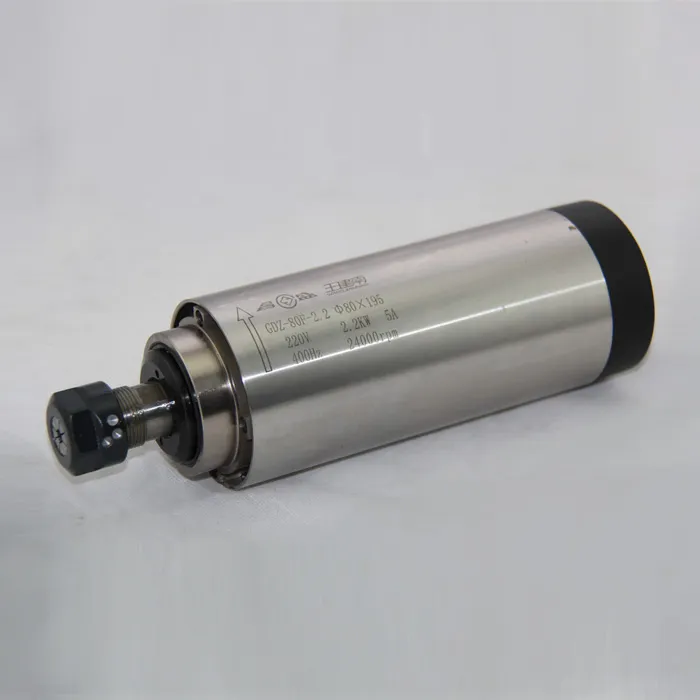
- Select a Spindle Motor: Depending on the type of material you plan to cut, select an appropriate spindle motor. For cutting wood and acrylic, a 2.2KW ER20 Air-Cooled Spindle is a popular choice. More info on 2.2KW ER20 Air-Cooled Spindle.
- Attach the Spindle: Securely mount the spindle to the Z-axis carriage using clamps or brackets.

4. Wiring and Electronics Setup
The electronic setup involves connecting the stepper motors, spindle, and control board (typically an Arduino or GRBL).
- Power Supply: Connect a suitable power supply that provides sufficient current for the stepper motors and spindle motor.
- Control Board: Connect the stepper motors to the Arduino or GRBL board, which will act as the machine’s brain. The control board interprets G-code and controls the movement.
- End Stops and Limit Switches: Install limit switches to the frame, which prevents the machine from overextending and crashing.
5. Install Software and Firmware
To operate the CNC machine, you need both design software and a control program.
- CAD Program: Create or import designs using software like Inkscape or Fusion 360. These programs are used to create the vectors that will be converted into G-code.
- CAM Program: Software like GRBL is used to translate G-code commands into machine movement.
- Load Firmware: Upload the appropriate firmware (e.g., GRBL) onto the control board using your PC.
Quote: “Combining DIY creativity with CNC precision is where real innovation happens. Building your own machine is the perfect way to understand the mechanics behind precise digital manufacturing.” – CNC Enthusiast, Michael Green
6. Test the Machine
After building the CNC machine, it’s time for testing:
- Dry Run: Test the machine without any cutting material. This helps identify any issues with alignment, vibration, or software bugs.
- Check Calibration: Verify that the machine moves precisely in response to commands. Test the X, Y, and Z axes to ensure they respond accurately.
Recommended Spindle Motors for DIY CNC Machines
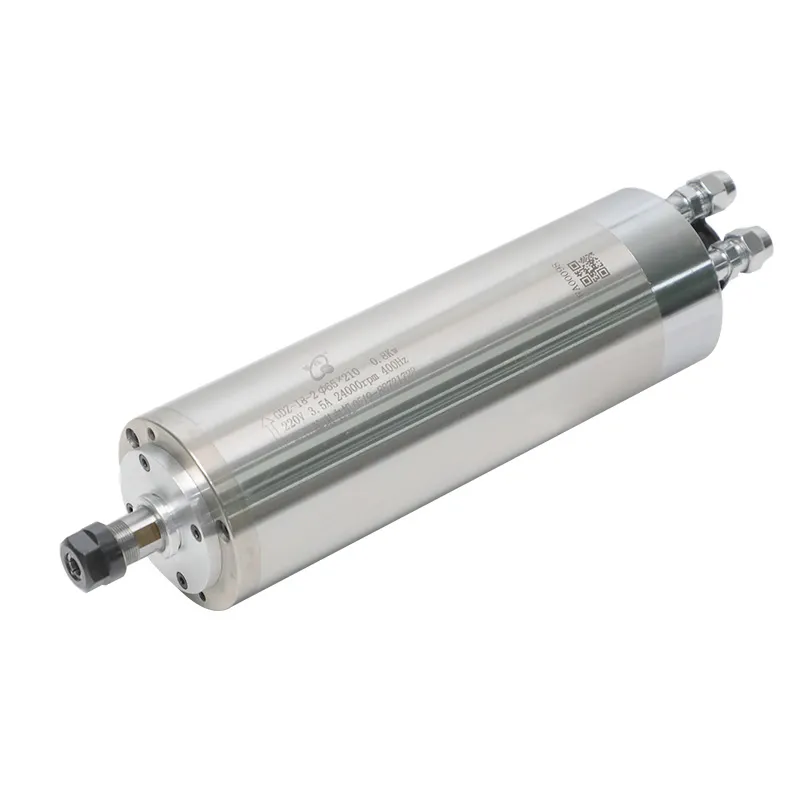
- 24000RPM 0.8KW ER11 Water-Cooled Spindle
- 1.5KW ER11 Round Air-Cooled Spindle
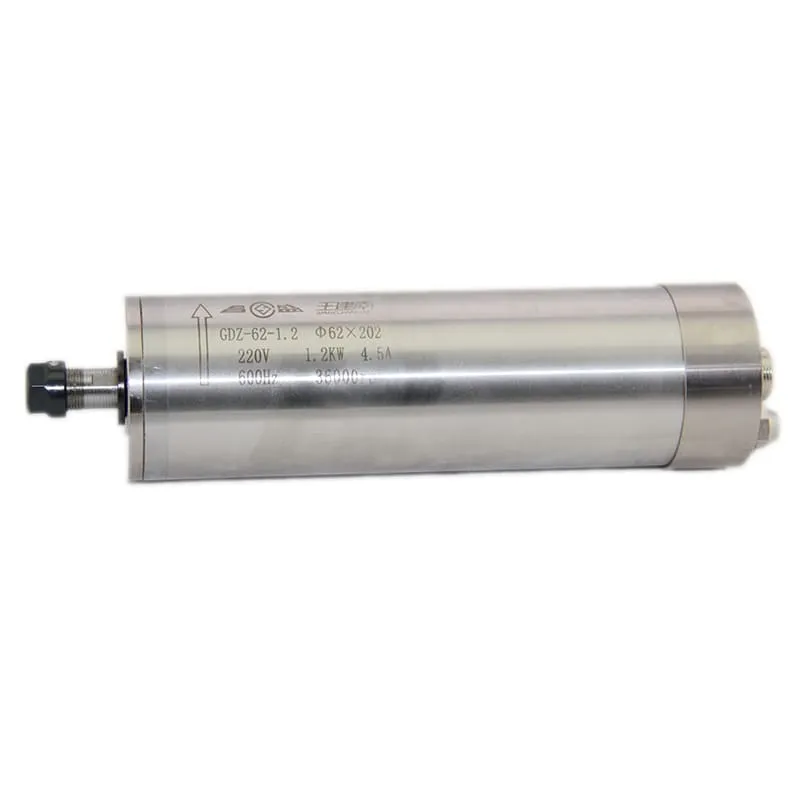
- 60000RPM 1.2KW ER11 Water-Cooled Spindle

Common Issues When Building a CNC Machine
1. Incorrect Alignment
One of the most common issues when building a CNC machine is incorrect alignment of the linear rails and ball screws. Misalignment can lead to inaccurate cuts and even damage the spindle.
Solution: Use precision tools to ensure all components are aligned and square during the build.
2. Electrical Interference
Improper grounding can lead to electrical interference and erratic behavior from the stepper motors.
Solution: Ensure all components are properly grounded, and use shielded cables where necessary.
3. Material Limitations
Choosing the wrong spindle can severely limit the types of materials you can work with. A weaker spindle may not be suitable for hard materials like metal.
Solution: Always choose a spindle motor that matches your intended material. If cutting metal, choose a high-speed spindle capable of handling tough jobs.

Frequently Asked Questions
1. What materials can I use with a homemade CNC machine?
Homemade CNC machines can handle wood, acrylic, plastics, and soft metals like aluminum. Ensure the spindle motor you select is appropriate for the type of material.
2. How accurate are DIY CNC machines?
Accuracy largely depends on the quality of materials used and precision in assembling components. Proper calibration and alignment can achieve accuracies of up to 0.1mm.
3. Can I upgrade the spindle later?
Yes, you can upgrade the spindle later as your projects demand higher power or precision. Just ensure that your machine frame and power supply can accommodate the new spindle requirements. Upgrading allows for versatility, enabling you to work with a wider range of materials and achieve better results.

