How to Make Arduino CNC
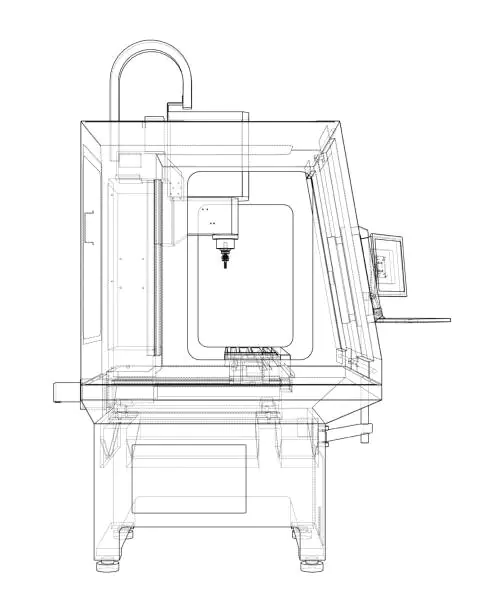
Are you excited about building your own CNC machine using Arduino? This comprehensive guide will walk you through everything you need to know about creating a DIY Arduino CNC machine. Whether you’re a hobbyist or aspiring maker, let’s dive into this exciting project that combines the power of Arduino with CNC technology.
Understanding the Basics of Arduino CNC
Arduino CNC combines the versatility of Arduino microcontrollers with Computer Numerical Control (CNC) technology. The Arduino board acts as the brain of your CNC machine, interpreting G-code commands and controlling the stepper motors that move your machine’s axes. This affordable combination has revolutionized DIY manufacturing, making it accessible to hobbyists and small workshops.
Key Components:
- Arduino board (typically Arduino Uno or Mega)
- CNC shield
- Stepper motor drivers
- Stepper motors
- Power supply
- Frame and mechanical components
Essential Hardware Components
Arduino Board Selection
The Arduino Mega is often preferred for CNC projects due to its:
- More I/O pins
- Larger memory capacity
- Better processing power
- Enhanced stability for CNC operations
Stepper Motors and Drivers
Choosing the right stepper motors is crucial for your CNC machine’s performance. For most DIY projects, NEMA 17 or NEMA 23 stepper motors work well. These need to be paired with appropriate drivers, typically A4988 or DRV8825.

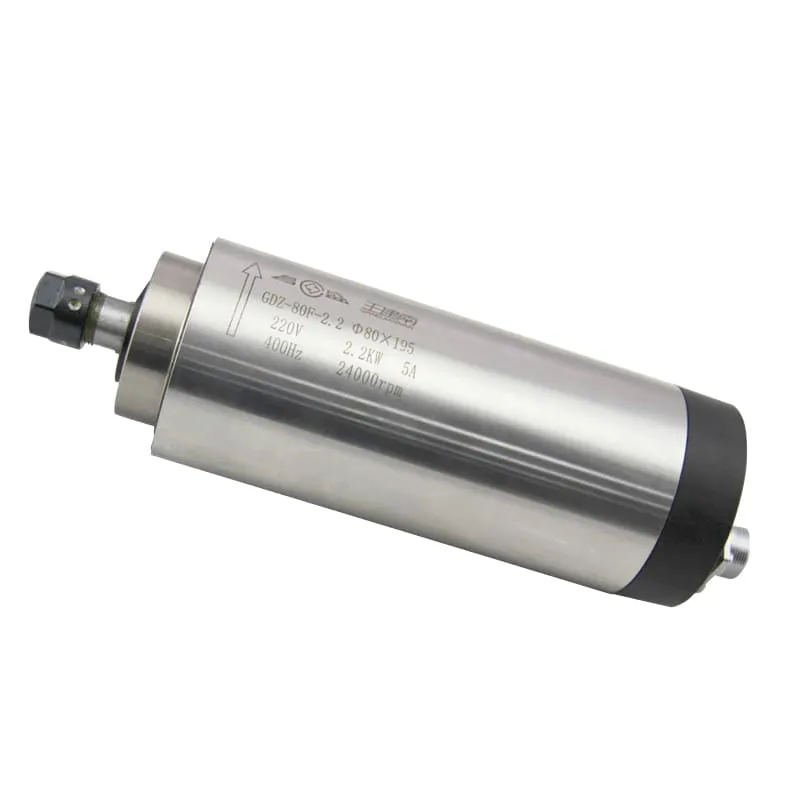
A quality spindle like the 2.2KW ER16 Air-Cooled Spindle can significantly improve your CNC machine’s capabilities.
Power Supply Requirements
Your power supply needs depend on your stepper motors and spindle requirements. Here’s a basic calculation:
- Calculate total amp draw of stepper motors
- Add safety margin (20%)
- Consider spindle power requirements
Pro Tip: Always choose a power supply with some headroom above your calculated needs to ensure stable operation.
Building the Mechanical Framework
The frame is the foundation of your CNC machine. Consider these options:
- Aluminum extrusions (20×20 or 20×40 profile)
- Steel frame construction
- Wood frame (budget option)
Linear Motion System
Choose between:
- Linear rails
- Rod and bearing system
- V-slot wheels
Electronics Setup and Wiring
Arduino IDE Configuration
- Download and install Arduino IDE
- Install GRBL firmware
- Configure GRBL parameters

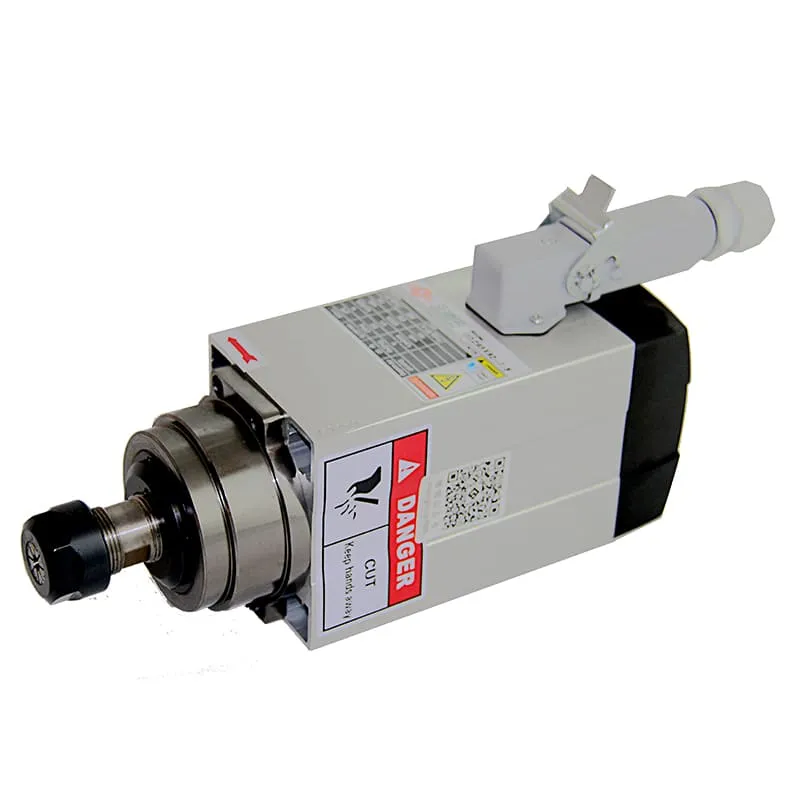
For more demanding projects, consider the 1.5KW ER11 Square Air-Cooled Spindle with Flange for precise cutting.
Software Configuration
GRBL Settings
Important GRBL parameters to configure:
$100 = X steps/mm
$101 = Y steps/mm
$102 = Z steps/mm
$110 = X max rate
$111 = Y max rate
$112 = Z max rate
Spindle Selection and Installation
The spindle is crucial for cutting performance. For entry-level machines, consider starting with the 800W ER11 Air-Cooled Spindle. This provides a good balance of power and precision for beginners.
Testing and Calibration
Axis Calibration Steps:
- Home all axes
- Measure actual movement
- Adjust steps/mm
- Repeat until accurate
Safety Considerations
Always implement these safety features:
- Emergency stop button
- Limit switches
- Proper grounding
- Dust collection system
Maintenance and Troubleshooting
Regular maintenance includes:
- Checking belt tension
- Lubricating linear rails
- Inspecting electrical connections
- Cleaning debris
Advanced Features and Upgrades
Consider these upgrades:
- Auto-leveling probe
- Tool length sensor
- Vacuum table
- Coolant system
Control Software Options
Popular software choices:
- Universal G-Code Sender
- bCNC
- Candle
- EstlCAM
Project Ideas and Applications
Start with these beginner-friendly projects:
- Simple signs
- 2D art
- PCB drilling
- Small woodworking projects
Common Issues and Solutions
| Issue | Possible Cause | Solution |
|---|---|---|
| Missed steps | Incorrect current | Adjust driver current |
| Rough cuts | Speed too high | Reduce feed rate |
| Motor stalling | Insufficient power | Check power supply |
| Poor accuracy | Loose belts | Tension adjustment |
FAQs
1. What size Arduino board do I need for a CNC machine?
While an Arduino Uno can work for basic projects, an Arduino Mega is recommended for its additional features and stability in CNC applications.
2. How much power supply do I need for my Arduino CNC?
Calculate the total power requirements of your stepper motors and spindle, then add 20% for safety margin. Most DIY machines need 12-24V power supplies rated at 10-30A.
3. Can I use Arduino CNC for metal cutting?
Yes, but you’ll need a robust frame, powerful stepper motors, and a suitable spindle like the 3.5KW ER20 Air-Cooled Spindles for metal cutting.
4. What’s the best firmware for Arduino CNC?
GRBL is the most popular and well-supported firmware for Arduino-based CNC machines. It’s open-source and has a large community.
5. How accurate can an Arduino CNC machine be?
With proper setup and calibration, Arduino CNC machines can achieve accuracies of 0.1mm or better, depending on mechanical components quality.
Conclusion
Building an Arduino CNC machine is an exciting project that combines electronics, mechanics, and programming. While it requires careful planning and attention to detail, the end result is a versatile tool for your workshop. Remember to start with quality components, especially the spindle motor, as this significantly impacts your machine’s capabilities. Whether you’re creating artistic pieces or functional parts, an Arduino CNC machine opens up endless possibilities for DIY manufacturing.
Remember to prioritize safety, take your time with calibration, and don’t hesitate to upgrade components as your skills and needs grow. With proper maintenance and care, your Arduino CNC machine will serve as a valuable tool for years to come.

