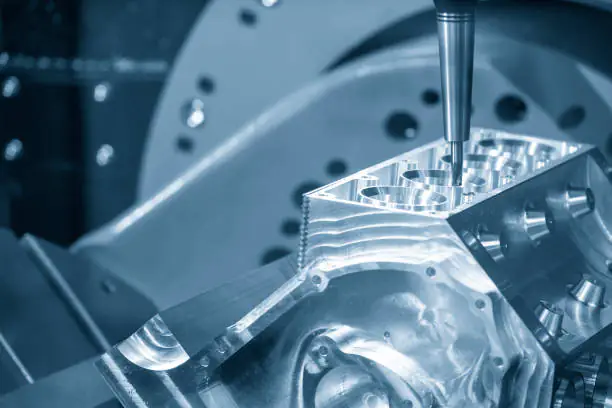
How to Make Arduino CNC
Building your very own Arduino CNC machine can be one of the most rewarding DIY projects. Not only will you gain firsthand experience in electronics, programming, and machining, but you’ll also end up with a functional machine capable of making precise cuts in a variety of materials. In this guide, we will walk you through the process of creating an Arduino CNC machine—from sourcing components to assembling and configuring it. This journey will show you how a simple Arduino board can become the brain of your own CNC machine.
What Is an Arduino CNC?
An Arduino CNC machine is a DIY fabrication device controlled by an Arduino board, typically using GRBL firmware. The machine uses stepper motors, drivers, and other components to move a cutting tool along multiple axes to create designs on wood, metal, or plastic. Arduino serves as the controller, communicating with the motors and receiving input commands through a G-code sender, like Universal G-Code Sender.
This kind of CNC is great for hobbyists who want to bring projects to life without the hefty price tag of commercial CNC machines. The parts are typically sourced from online suppliers, local electronics shops, and sometimes repurposed from other projects.
| Component | Description |
|---|---|
| Arduino Board | Controller for the CNC machine |
| GRBL Shield | Interface between Arduino and motors |
| Stepper Motors | Controls X, Y, Z axis movement |
| Stepper Motor Drivers | Amplifies control signals |
| Power Supply | Provides power to all components |
Check out our range of CNC Spindle Motors to find the best option for your DIY CNC.
Essential Components for Building an Arduino CNC
1. Arduino Board and GRBL Firmware
The heart of the CNC setup is an Arduino Uno board loaded with GRBL firmware. GRBL is an open-source firmware that translates G-code commands into movements for the machine. It’s specifically tailored for CNC applications, making the Arduino powerful enough to control intricate movements.
- Arduino Uno: This is the most common board for DIY CNC machines due to its compatibility and ease of use. You will use the Arduino IDE to load the firmware.
- GRBL Firmware: Available freely online, GRBL enables the Arduino to control the CNC motors based on G-code commands.
Installing GRBL on Arduino
To install GRBL firmware, you will need the Arduino IDE. First, download the GRBL files, open them in the Arduino IDE, and flash them onto your board. This will equip the Arduino with the necessary software to manage CNC movements.
Learn more about how CNC spindle motors can enhance the capabilities of your DIY CNC machine.
2. Stepper Motors and Drivers
Stepper motors are critical for moving the cutting tool along the X, Y, and Z axes. These motors turn in fixed steps, providing precise control for each movement of the CNC machine. Stepper motors are driven by stepper motor drivers, which interpret signals from the Arduino and convert them into actions.
- Stepper Motor Driver DRV8825: This is a popular driver module used for controlling stepper motors. It has features such as overcurrent protection and microstepping capability, which makes it ideal for DIY CNCs.
- Wiring Stepper Motors: The motors should be connected to the GRBL shield, which serves as the interface between the Arduino and the stepper motors. Double-check wiring diagrams and test the connections with your Arduino to avoid mishaps.
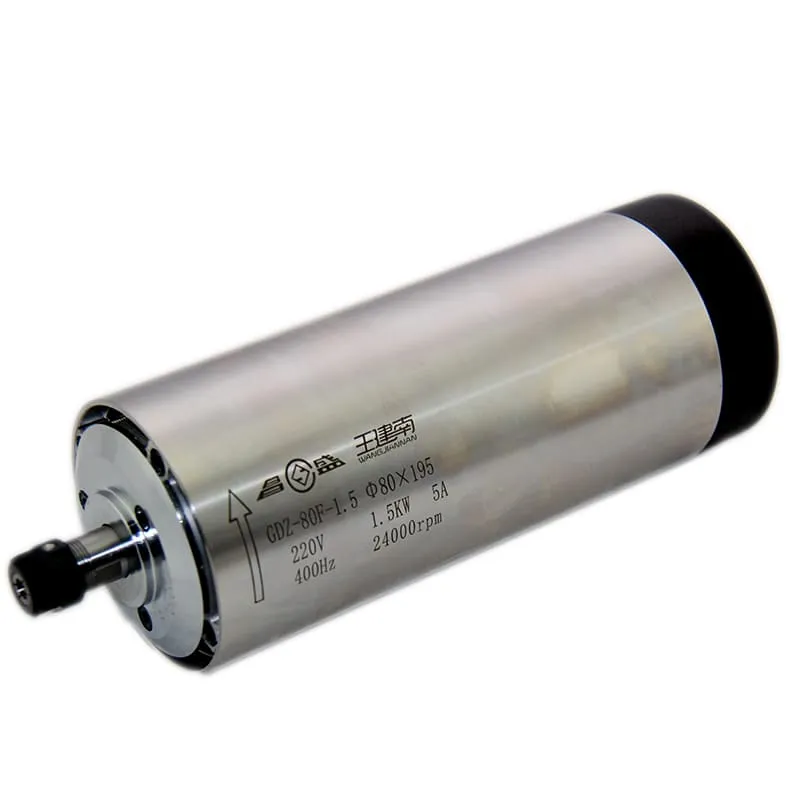
Use the 1.5KW ER11 Round Air-Cooled Spindle for efficient cutting and engraving with your Arduino CNC setup.
3. Power Supply for Your CNC
Your CNC machine will require a power supply to provide energy to the stepper motors, Arduino, and other components. The power supply should match the voltage and current requirements of the stepper motors and drivers.
- Selecting the Power Supply: For most DIY CNC machines, a 12V or 24V power supply is sufficient. However, it is crucial to confirm the requirements for each motor driver and stepper motor.
- Plug and Power: Ensure that all connections are secure before plugging in the power supply. Use a power jumper to distribute power evenly across multiple components. Always unplug the power supply when working on connections to avoid electric shock or component damage.
Explore high-quality CNC Spindles to power up your DIY CNC machine effectively.
Setting Up Your DIY Arduino CNC
1. Mechanical Assembly
The mechanical frame is what houses all of the components and provides the movement structure for your CNC machine. Many hobbyists use MDF wooden sheets, aluminum extrusions, or even 3D printed parts to create a sturdy frame.
- Frame Construction: Use materials that are rigid enough to withstand cutting forces but lightweight for easier control. Aluminum or MDF are popular choices.
- Linear Motion System: Steel rods or lead screws are often used to provide linear movement for each axis. Make sure to select rods with an appropriate diameter, like 12mm, to ensure strength without excess weight.
2. Assembling the Electronics
After building the frame, the next step is integrating the electronic components—this is where everything starts coming together.
- Arduino with GRBL Shield: Stack the GRBL shield on the Arduino board. The shield provides convenient screw terminals for easy wiring of stepper motors and drivers.
- Stepper Motors Wiring: Connect each stepper motor to its corresponding terminals on the GRBL shield. Refer to motor datasheets for proper wiring configurations.
- Power Supply Wiring: Plug the power supply into the GRBL shield and ensure all connections are tight and secure. Always double-check your wiring before powering the system.
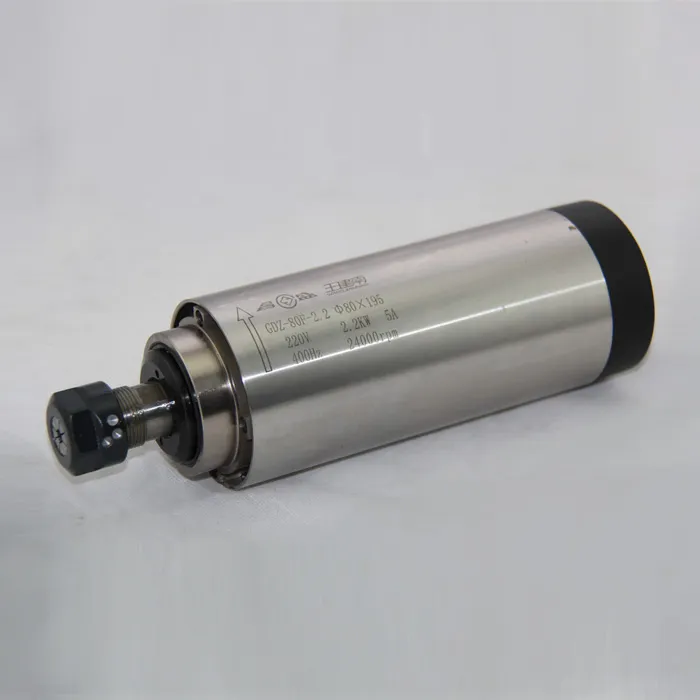
Our 2.2KW ER20 Air-Cooled Spindle works well with various DIY CNC setups, offering power and versatility for a wide range of projects.
3. Software Installation and Configuration
The Arduino CNC requires specific software to interpret commands and control movements. GRBL firmware handles most of the machine’s operation, while a G-code sender handles user inputs.
- Arduino IDE for Firmware: Load GRBL onto your Arduino using the Arduino IDE. Once the firmware is uploaded, the Arduino becomes ready to interpret G-code commands.
- Universal G-Code Sender: This is a popular interface software that communicates with the Arduino via USB. It’s simple to use and ideal for beginners wanting to get started with CNC control.
- G-Code Files: Create or download G-code files for your designs. You can use CAD/CAM software like Fusion 360 to design parts and export the tool paths as G-code files.
Check our range of Spindles for CNC Router to find suitable products for your DIY projects.
Tips for Troubleshooting and Optimizing Your Arduino CNC
1. Common Issues and Fixes
1. Stepper Motor Not Moving
Check if the stepper motors are properly wired and ensure that the motor drivers are correctly seated in the GRBL shield. Faulty drivers can prevent motor movement or cause inconsistent performance.
2. Jerky Movements
Jerky or uneven movement can be caused by insufficient current to the stepper motors. Use a multimeter to check the current and adjust the driver settings for a smoother operation.
3. Inaccurate Cutting
If the cuts are not precise, you may need to recalibrate your axes. Axis calibration can be done through the G-code sender, adjusting steps per millimeter until accuracy is achieved.
2. Fine-Tuning for Better Performance
Microstepping Settings
Microstepping allows the motor to move in smaller increments, improving accuracy and reducing vibrations. Most stepper motor drivers like DRV8825 come with configurable microstepping settings that can be adjusted to suit your needs.
Using High-Quality Tools
The choice of spindle and cutting tools plays a crucial role in the performance of your CNC. Using high-quality CNC spindle motors and sharp cutting tools will yield better results and prolong the lifespan of your CNC.
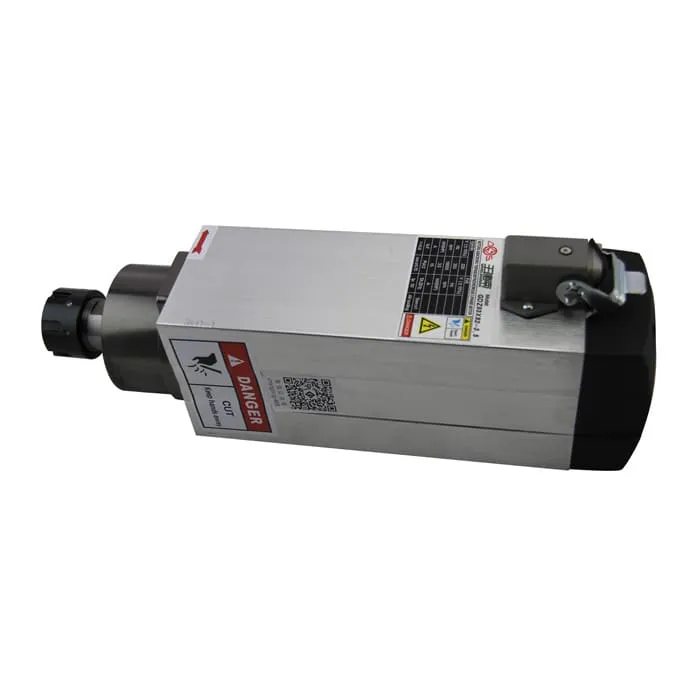
For enhanced performance, consider our 3.5KW ER25 Air-Cooled Spindle, known for its reliability and power.
Conclusion: Creating Your Own Arduino CNC Machine
Building an Arduino CNC machine is a fantastic way to explore the world of electronics, programming, and machining. It’s a hands-on project that brings together multiple skills, from assembling mechanical components to programming the Arduino and wiring stepper motors. With a good understanding of the components—Arduino, GRBL, stepper motors, power supplies—and step-by-step assembly, you can create a reliable CNC machine suitable for various applications.
From cutting and engraving to making intricate designs, a DIY Arduino CNC offers limitless potential. If you’re interested in enhancing your setup, our collection of high-quality CNC spindle motors can significantly improve the efficiency and performance of your projects.
FAQs
1. What components do I need to make an Arduino CNC?
You will need an Arduino board, GRBL shield, stepper motors, stepper motor drivers, a power supply, and structural components like rods and frames.
2. How does GRBL firmware work with Arduino?
GRBL firmware allows the Arduino to interpret G-code commands and control stepper motors and drivers to execute machining tasks accurately.
3. What type of spindle should I use for my DIY CNC?
Choosing a spindle depends on the materials you plan to work with. A high-quality air-cooled spindle like our 1.5KW ER11 is a great choice for general DIY applications.
4. How do I troubleshoot stepper motor issues?
First, check the wiring and ensure the motor drivers are seated correctly. If movements are inconsistent, adjust the current settings using a multimeter.
5. Can I use a 3D-printed frame for my CNC?
Yes, 3D printed parts can be used for the frame, but ensure the material is sturdy enough to withstand cutting forces without deforming.
