How to Start CNC Machine
Starting a CNC machine might sound like a complex task, especially if you’re new to the world of computer numerical control (CNC) machining. However, once you break it down step by step, the process becomes manageable and straightforward. This guide will provide a comprehensive overview of everything you need to know about getting a CNC machine up and running—from safety checks to program initiation. By the end of this article, you will have a solid understanding of how to confidently start a CNC machine and begin your machining operations.
Understanding the Basics of CNC Machining
Before diving into the steps of starting a CNC machine, it’s essential to understand what CNC machining is all about. CNC, or Computer Numerical Control, refers to a process in which computer software controls the movement of tools and machinery. CNC machines can work on a wide variety of materials, including metals, plastics, and wood, using milling, turning, and other methods to create precision parts.
The central component of CNC is a program that runs on CAM (Computer-Aided Manufacturing) software, which translates a CAD (Computer-Aided Design) file into a set of instructions called G-code. The G-code is what tells the machine where to move, at what speed, and how deep to cut.
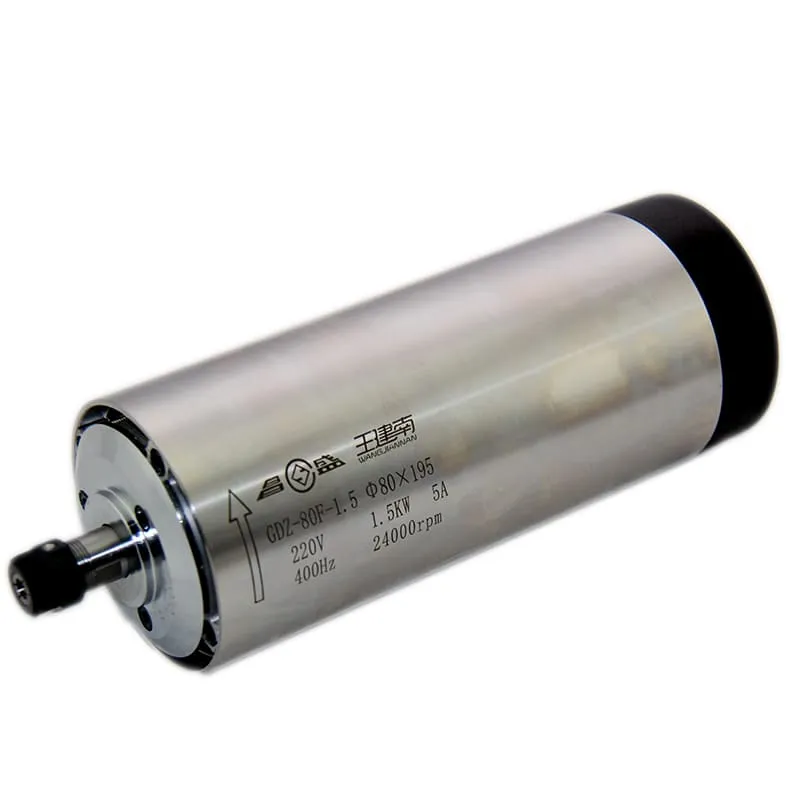
CNC machines are valued for their ability to produce high-precision parts consistently and efficiently, making them a vital part of manufacturing in sectors ranging from automotive to aerospace. Explore our selection of CNC Spindle Motors to ensure optimal performance in your CNC machining applications.
Safety Precautions Before Starting a CNC Machine
1. Personal Safety Measures
Safety should always be your top priority when operating any machinery, especially a CNC machine.
- Protective Gear: Wear appropriate personal protective equipment (PPE) such as gloves, safety goggles, and steel-toe shoes. Loose clothing and jewelry should be avoided.
- Work Area: Make sure the work area is clean and free of obstacles. There should be no clutter near the machine that could cause accidents.
- Emergency Stop Button: Locate the emergency stop button and ensure that it is functioning properly. This is critical if something goes wrong during the startup or operation of the machine.
2. Machine Safety Checks
- Power Supply: Ensure the machine is plugged into the appropriate power supply and all power connections are secure. Faulty wiring can cause accidents or damage to the equipment.
- Coolant Levels: Check the coolant levels to ensure there is enough for the entire machining process. Coolant is important for reducing heat and ensuring smooth operations.
- Inspect Tools and Fixtures: Examine all tools and fixtures for wear or damage before starting the machine. Damaged tools can lead to inaccurate cuts or machine failures.
Learn more about safety features integrated into CNC spindles to enhance operator safety.
Loading the CNC Program
1. Understanding CNC Programs
The CNC program, often written in G-code, dictates every movement of the CNC machine. Before starting, you need to ensure that the correct program is loaded and that it corresponds with the part you plan to manufacture.
- G-code and M-code: G-code controls movements, while M-code is used to control auxiliary functions like coolant and tool changes. Having a clear understanding of these codes will make the operation more effective.
2. Using CAM Software to Generate G-Code
Most CNC programs are generated using CAM software. Programs like Fusion 360 or Mastercam are often used to generate the required G-code from a CAD model. Once the G-code is ready, it can be transferred to the CNC machine via USB, memory card, or through a direct network link.
- Load the Program: Load the program onto the CNC machine’s controller. Most modern CNC machines have a USB port or allow direct communication from your CAM software.
- Verify the Program: Always run through the code to ensure there are no errors. Any mistake in the G-code could lead to incorrect machining or even damage the CNC machine.
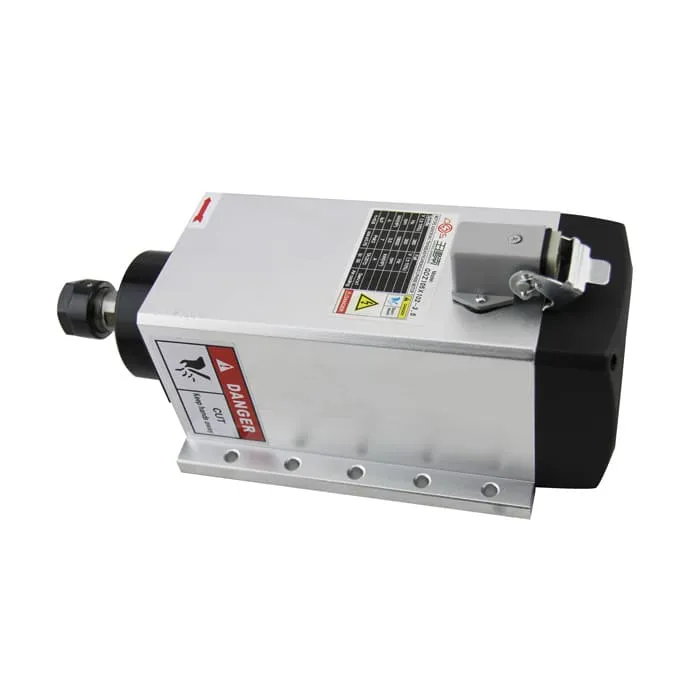
Find out more about how our CNC spindles can help achieve precise results.
Setting Up the Workpiece and Tool Length Offsets
1. Mounting the Workpiece
The next step in starting a CNC machine is properly securing the workpiece onto the machine bed.
- Workpiece Fixture: Use clamps, vices, or vacuum tables to secure the material. The fixture should be stable enough to prevent any movement during machining.
- Zero Point Setup: Establish the zero point or work offset. This is the reference point from which all movements are calculated. Typically, this is done using a touch probe or manually by aligning the tool to a specific corner of the workpiece.
2. Setting Tool Length Offsets
Tool length offsets are critical to ensure that the CNC machine knows exactly how far the tool extends from the spindle.
- Manual Touch-Off: One of the most common methods is using a piece of paper or a touch-off plate to determine where the tool tip makes contact with the workpiece surface.
- Tool Setter: For more accurate measurements, a tool setter can be used. This device measures the tool length automatically and records the value into the machine’s controller.
- Input Offsets into Controller: Enter the tool length offset values into the machine’s controller. This ensures that the depth of each cut is precise, leading to accurate part dimensions.
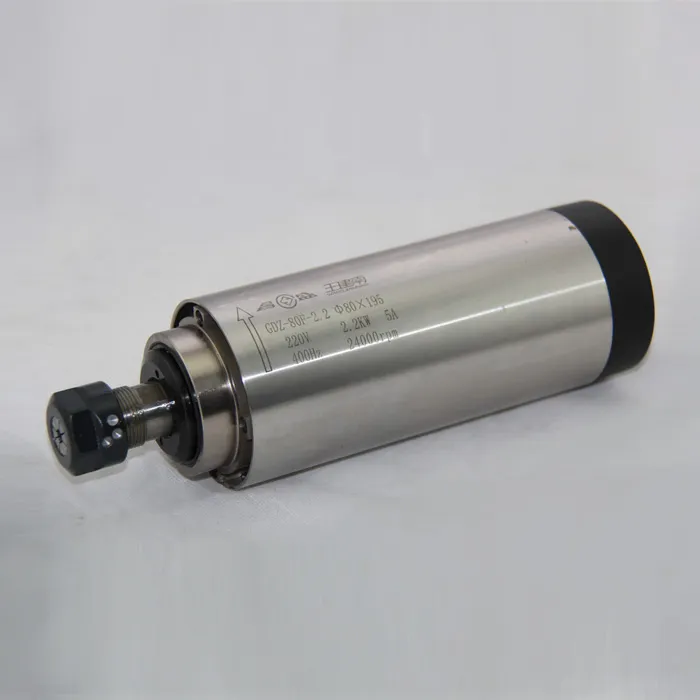
Consider our 2.2KW ER20 Air-Cooled Spindle for efficient and reliable cutting across a wide variety of materials.
Starting the CNC Machine: Step-by-Step Guide
1. Power On the CNC Machine
The first actual step in starting a CNC machine is powering it on.
- Main Power Switch: Flip the main power switch to turn on the machine. Wait for the machine’s controller to initialize and load the home screen.
- Controller Power: After powering on the main machine, turn on the controller and wait for it to boot. This is typically done through a dedicated power button on the controller unit.
2. Homing the Machine
Homing means calibrating the machine’s position. It essentially tells the machine where it is so that it can accurately move to all desired positions during the machining process.
- Press Home Button: Most CNC controllers have a “Home” button. Press it, and the machine will move to a known reference position. This step is crucial for accuracy.
- Check Axis Movement: Ensure that all axes are moving smoothly without any abnormal noise or resistance. Abnormalities in movement can indicate mechanical issues that need to be addressed before proceeding.
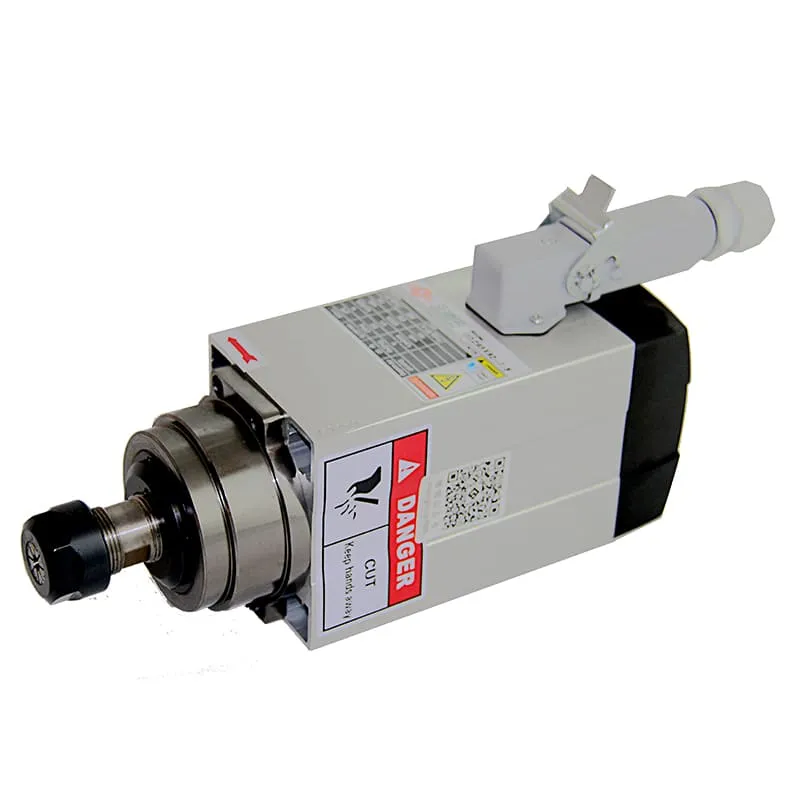
See our 1.5KW ER20 Square Air-Cooled Spindle for precision homing and repeatability in CNC operations.
Loading and Running the CNC Milling Program
1. Selecting the Correct Program
Once the machine is homed, the next step is to load the CNC milling program.
- Program List: Navigate through the control panel to access the list of programs. Select the appropriate G-code program that corresponds to the part being machined.
- Verify Parameters: Double-check parameters like spindle speed, feed rate, and coolant flow to ensure they match the requirements for the specific material being machined.
2. Dry Run
A dry run is a critical step that helps in preventing costly mistakes by running through the program without actually cutting the material.
- Cycle Start in Dry Run Mode: Set the machine to dry run mode and press the Cycle Start button. The machine will move through the programmed toolpaths without engaging the spindle into the material.
- Monitor Movements: Watch closely to make sure there are no unexpected tool movements. This will ensure there are no collisions and that the toolpaths are correct.
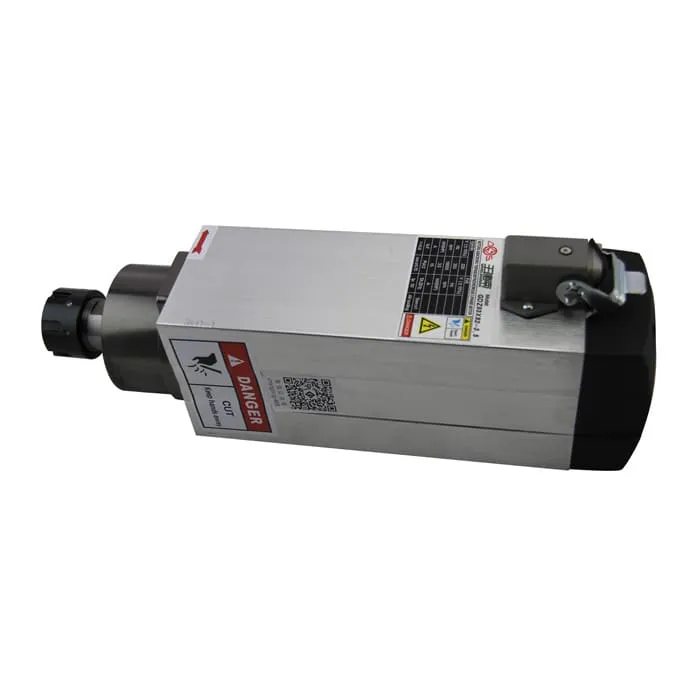
Explore our 3.5KW ER25 Air-Cooled Spindle to enhance efficiency during full operation and testing phases.
Running the Actual Machining Process
1. Start the Machining Process
Once you are confident that everything is set up correctly, it’s time to start the actual machining process.
- Spindle Start: Start the spindle at the programmed speed. This can be done through the controller’s interface, which will prompt you

