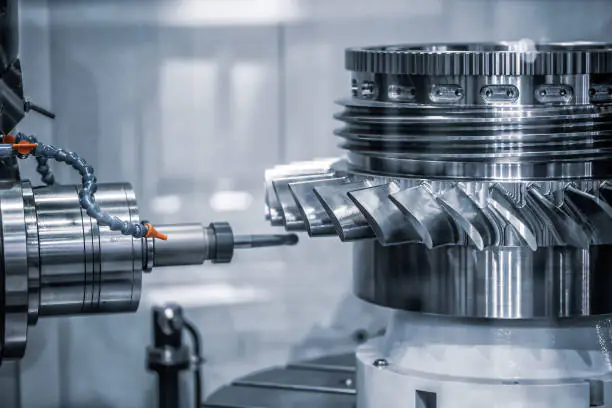
CNC (Computer Numerical Control) machines have revolutionized the manufacturing and DIY industry, allowing precise machining based on digital designs. Inkscape, a popular vector graphics editor, is an excellent tool for creating these digital designs. This comprehensive guide will help you understand how to effectively use Inkscape to create patterns and drawings for your CNC machine, making your projects more efficient and precise.
Understanding Inkscape for CNC
Inkscape is an open-source vector graphics software that allows you to create intricate and precise designs for CNC purposes. Whether you are working on CNC laser cutting, engraving, or milling, Inkscape offers powerful tools to convert your designs into machine-readable paths.
Why Use Inkscape for CNC?
- Open Source: Inkscape is free and open-source, making it accessible to everyone.
- Versatility: It works for a wide variety of CNC operations, including engraving and cutting.
- Ease of Use: Inkscape’s tools are intuitive, and the interface is beginner-friendly.
- Vector-based Output: CNC machines read vector paths, and Inkscape is designed to produce vector files.
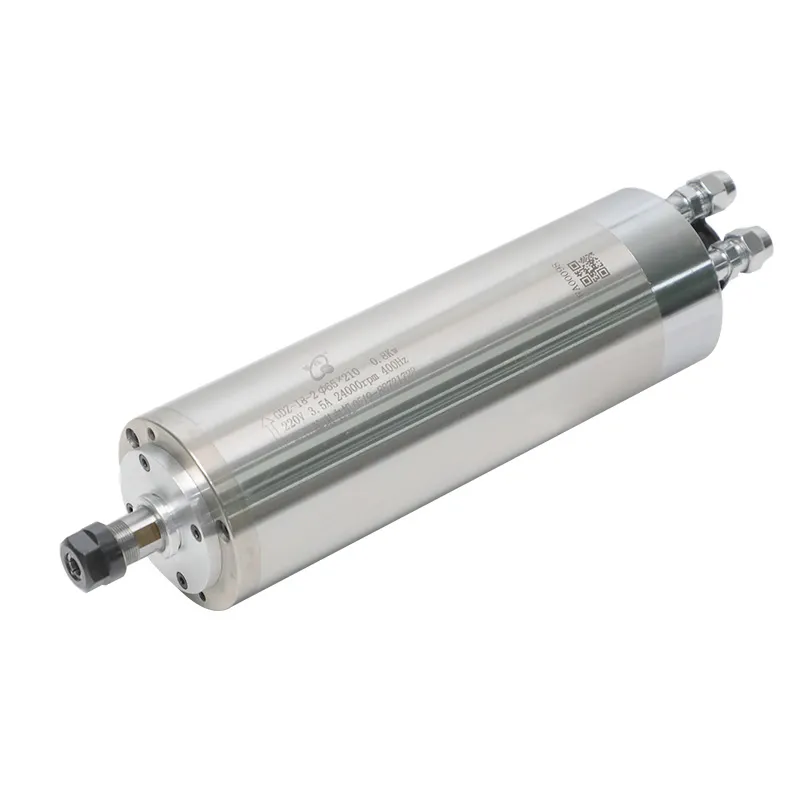
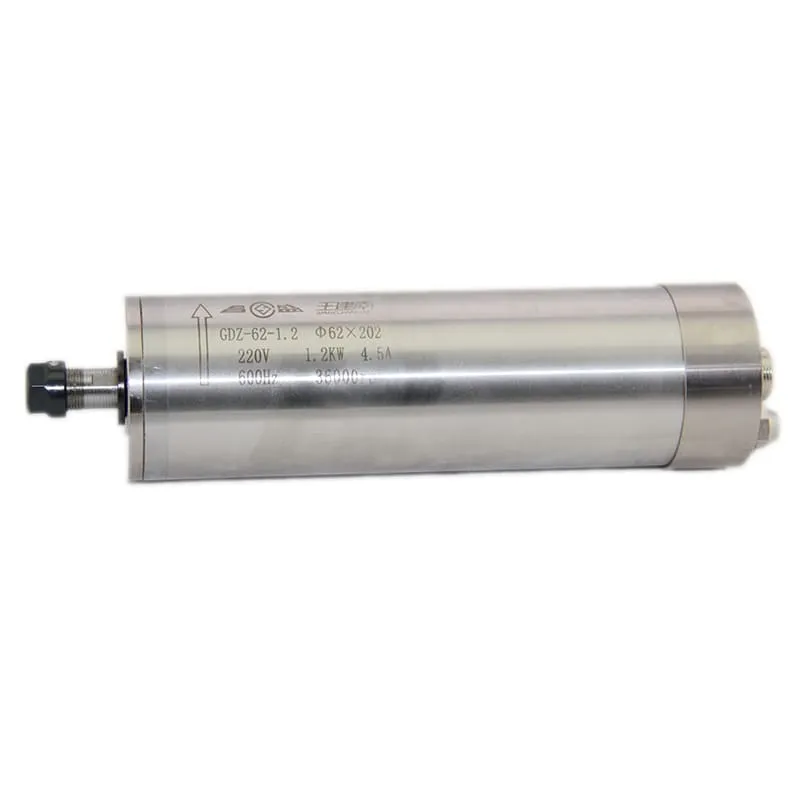
To learn more about how to use spindle motors effectively, visit our CNC Spindles page.
Tools You Need to Use Inkscape for CNC
To start creating CNC-ready designs, you need the right setup. Below are some tools and plugins that are helpful when working with Inkscape for CNC projects.
Essential Tools and Plugins for Inkscape
| Tool / Plugin | Purpose |
|---|---|
| Gcodetools Extension | Converts vector paths to G-code |
| J Tech Photonics Plugin | For laser cutting projects |
| Endurance Laser Plugin | For optimizing laser engravings |
| Export to DXF | Creates a file format that is readable by most CNC machines |
It’s also recommended to have access to CNC simulation software that allows you to see how your machine will perform based on your designs in Inkscape.
Setting Up Inkscape for CNC Designs
1. Download and Install Inkscape
The first step in using Inkscape for CNC designs is to download it from the official website. Inkscape is available for Windows, Mac, and Linux platforms, and it is completely free.
2. Install the Necessary Plugins
You will need additional plugins such as Gcodetools to export your designs as G-code. G-code is the language CNC machines use to understand the paths and commands needed to complete a project.
- Install Gcodetools: Gcodetools is usually preinstalled in the latest versions of Inkscape, but you can also find it in the Extensions menu. This tool helps you convert vector paths into G-code.
3. Set Up Your Document for CNC
- Unit Settings: Set the units to millimeters (mm) or inches (in), depending on your CNC machine requirements. You can adjust this by going to File > Document Properties.
- Page Size: Make sure your document size matches the working area of your CNC machine. This avoids scaling issues when exporting your final design.
Tips for Successful CNC Design in Inkscape
- Snap to Grid: Enable the grid to make your design precise.
- Path Conversion: Ensure all designs are converted to paths using Path > Object to Path.
- Layers: Use layers to manage different parts of your project (e.g., cut layers and engrave layers).
Creating a Design in Inkscape for CNC
1. Drawing Shapes and Lines
Start by drawing the basic shapes that you need for your CNC project. You can use the Shape Tool to create rectangles, circles, polygons, or freehand lines. Make sure each shape is created to match the dimensions required for the actual cut.
Tip: Hold down CTRL while drawing shapes to maintain proportions—e.g., creating a perfect circle or square.
2. Converting Objects to Paths
CNC machines work with vector paths, not objects. You must convert your designs into paths. Select your object, go to Path > Object to Path, and ensure it is converted before exporting.
For example, if you are creating an engraving path, draw the object, and then convert it to a path using Object to Path. This ensures that every detail is accurately translated by the CNC machine.
Learn about the different types of spindles that can make CNC machining more efficient on our Spindle Motors page.
3. Preparing for Cutting or Engraving
Once your paths are ready, you can prepare them for cutting or engraving. Use different stroke colors or line types to differentiate between cuts and engraving actions.
- Red Lines: Typically indicate cutting paths.
- Blue Lines: Used for engraving or marking paths.
- Line Weight: Set line weights correctly; thin lines are typically used for cutting instructions.

Exporting G-code from Inkscape
1. Using Gcodetools
Gcodetools is essential for converting your Inkscape design into a G-code file. Follow these steps:
- Prepare Path for G-code: Select the design that you want to convert into G-code.
- Add Tool Parameters: Open the Gcodetools extension and input parameters such as tool diameter, cutting depth, and feed rate.
- Generate G-code: Click Apply to generate the G-code. Save it with a
.ncor.gcodefile extension, which is compatible with most CNC machines.
2. Checking the G-code
After generating the G-code, use G-code simulator software to ensure the code is correct and does not contain errors. This will help you visualize the cutting path and make any necessary adjustments.
Quote: “Using Inkscape with Gcodetools gives you complete control over your CNC designs, helping you transform creative ideas into precise reality.” – CNC Designer Alex Wright
Testing and Cutting with a CNC Machine
Once your G-code is ready, it’s time to test it with your CNC machine.
1. Load the G-code
Load the G-code into your CNC machine’s controller software. Popular CNC software like GRBL or Mach3 allows easy import of G-code files. Make sure that the machine is set up properly with the correct tool and material.
2. Test Run
It is recommended to do a dry run without the material to ensure there are no errors in the cutting path. This allows you to spot potential problems such as wrong toolpaths or tool collisions.
3. Start Cutting
Once everything looks good, you can start the actual cutting process. Make sure you monitor the machine during the initial pass to handle any unforeseen issues.
Suggested Spindles for Cutting
Common Issues When Using Inkscape for CNC
1. Path Errors
If paths are not properly converted, the G-code might contain errors. Always double-check that all your objects are converted to paths before exporting.
2. Scaling Issues
Sometimes, the size of the design in Inkscape doesn’t match the final cut. To prevent this, ensure the units in Document Properties match the CNC software’s requirements.
3. Material Considerations
Depending on the material you’re cutting, you may need to adjust feed rates and cutting depths. Harder materials like metal require lower feed rates compared to wood or acrylic.

Frequently Asked Questions
1. Can I use Inkscape for all types of CNC machines?
Yes, Inkscape can create designs for most CNC machines, including laser cutters, engravers, and routers. You just need to ensure the G-code is compatible with your specific CNC controller.
2. How do I ensure my paths are closed?
To ensure all your paths are properly closed, use Path > Close Path. Closed paths help in avoiding discontinuities during the CNC process.
3. Is Inkscape suitable for professional CNC work?
Absolutely. Inkscape is capable of generating high-quality vector paths suitable for professional CNC projects, especially when combined with powerful plugins like Gcodetools.
4. Can I engrave images using Inkscape?
Yes, Inkscape’s Trace Bitmap tool allows you to convert images into vector paths that can then be engraved by a CNC machine.
5. How do I adjust feed rates in Inkscape?
Feed rates are not set in Inkscape directly; instead, they are configured during the Gcodetools setup. Make sure to input the correct feed rate based on your material and spindle.
Conclusion
Using Inkscape for CNC is an excellent way to bridge creativity and technical machining. From creating detailed vector paths to converting these designs into G-code, Inkscape simplifies the CNC workflow, making it accessible for beginners and professionals alike. By using the tips and techniques shared in this guide, you can enhance your designs and optimize your machining process, ensuring high precision and beautiful results.
To learn more about spindle motors that can enhance your CNC setup, explore our CNC Spindles Page.

